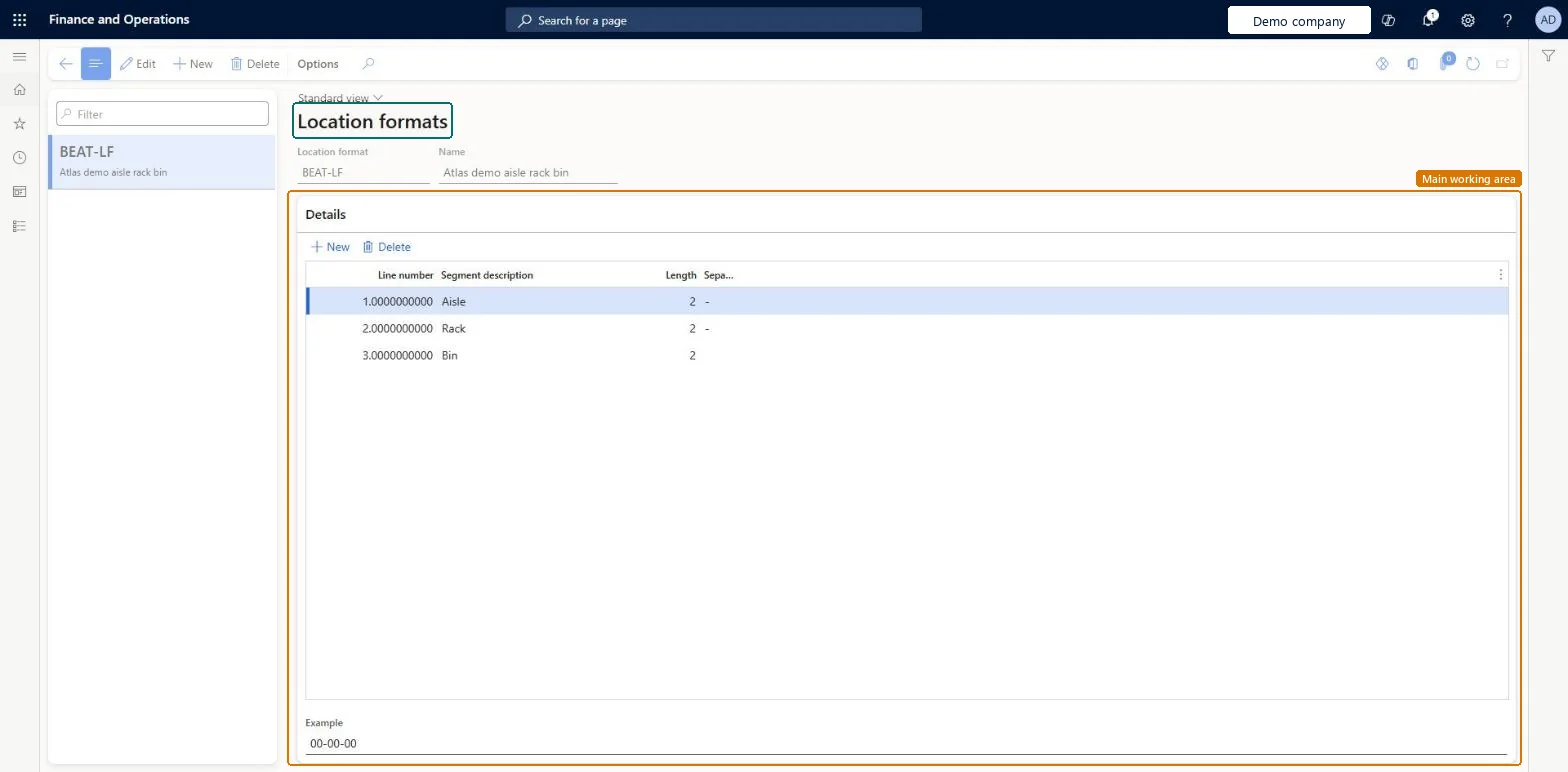
About the examples: Examples and screenshots in this guide use BEAT, a demo company in a Dynamics 365 test environment. Use your own company's codes and values instead of copying them.
Setup steps on this page
Set up Location formats
Use this page to define location formats so that location names are unique and consistent across a warehouse.
Steps from Microsoft
Go to Warehouse management > Setup > Warehouse > Location formats.
Select New.
In the Location format and Name fields, enter an ID and a name for the format.
In the Details section, enter a Segment description for the first component, such as Aisle.
In the Length field, enter how many characters that component has.
In the Separator field, enter the character that separates it from the next component.
In the Details section, select New for each further component and repeat the same fields.
Segments that mirror the physical layout, such as Aisle-Rack-Shelf-Bin, with a total length of 10 characters or lessThe format defines the naming system for locations, and the total length of all segments and separators can't exceed 10 characters.
Adding a separator after the last segment or designing segments that exceed 10 characters in total.
Hard to reverse: Location names must follow the format of their profile, so changing the format after locations exist means locations named to the old pattern.
Technical architect
6Technical
Menu item
WHSLocationFormatChecked in Dynamics 365
Form
WHSLocationFormatChecked in Dynamics 365
Table
WHSLocationFormatShown as “LOCATION FORMATS” in Record infoKey field: LocFormatIdChecked in Dynamics 365
PrivilegesMaintain location formats WHSLocationFormatMaintainView location formats WHSLocationFormatViewDutiesInquire into warehouse operation master WMSWarehouseOperationMasterInquireMaintain warehouse operation master WMSWarehouseOperationMasterMaintain6 security rolesField Service Integration User FieldServiceIntegrationUserProduction supervisor ProdProductionSupervisorProcess engineer RouteProcessEngineerProcess engineering manager RouteProcessEngineeringManagerWarehouse planner WHSWarehousePlannerWarehouse manager WMSWarehouseManagerChecked in Dynamics 365
Roles to set it up and use it
To set it up or change itWarehouse manager WMSWarehouseManagerProcess engineer RouteProcessEngineerTo use itWarehouse planner WHSWarehousePlannerProduction supervisor ProdProductionSupervisorProcess engineering manager RouteProcessEngineeringManagerField Service Integration User FieldServiceIntegrationUserGive people one of these roles. On this system, 6 roles can open this page.Checked in Dynamics 365
WHSWarehouseLocationFormatEntity (Warehouse location formats): loaded for each company, in Microsoft's default template 300 - Inventory.Load order: Microsoft's default template 300 - Inventory loads Warehouse location formats at execution unit 1, level 30, sequence 10. Lower levels load first, and entities at the same level load in sequence order.Load first: the default templates at lower levels (System setup to General ledger)Microsoft Learn