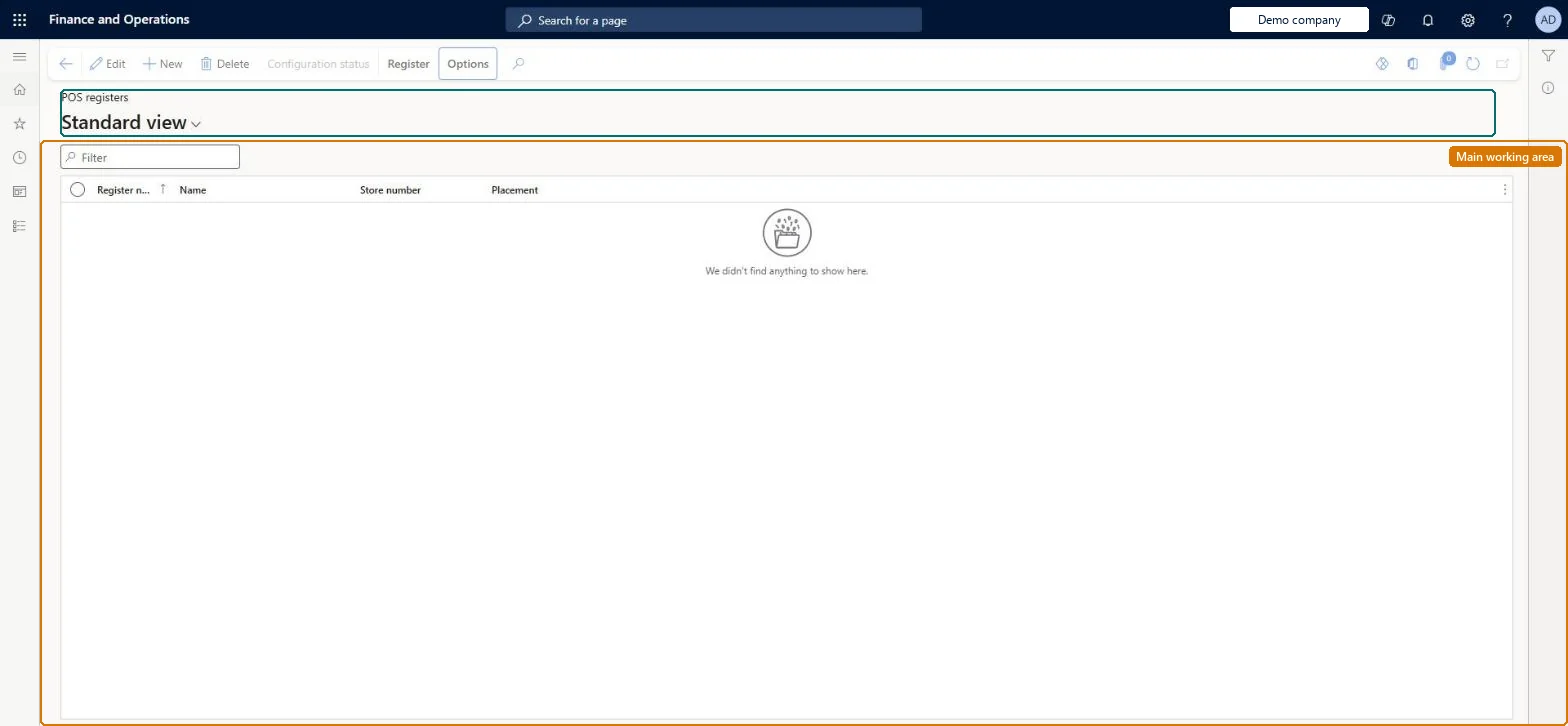
Setup step on the Registers page · Retail and Commerce
Set up Registers
Use this page to create or edit registers, assign a hardware profile, visual profile, screen layout and EFT terminal ID, turn on offline support, and configure peripheral IP addresses; afterwards run the Registers (1090) distribution schedule.
Retail operations manager, Retail service, Retail store manager and 1 more role
Business process
Manage sales channels
Menu item
RetailTerminalTable
Main table
RetailTerminalTable
Data entity
RetailTerminalEntity
Setup steps
1 on this page
Show what matters for
SETUP GUIDEHow to set it up8 sections. Choose a role to highlight what matters to you.
Everyone
1What it is and why
What it is
A setup page where each POS register is defined: the store it belongs to, its number and description, and the hardware, visual and other profiles that shape how that register behaves.
What you do here
Use this page to create or edit registers, assign a hardware profile, visual profile, screen layout and EFT terminal ID, turn on offline support, and configure peripheral IP addresses; afterwards run the Registers (1090) distribution schedule.
Example
For example, for a fixed till with a receipt printer you assign the hardware profile on the register itself and then run the Registers distribution schedule.
The page in Dynamics 365. page title tab to open what to set or check
About the examples: Examples and screenshots in this guide use BEAT, a demo company in a Dynamics 365 test environment. Use your own company's codes and values instead of copying them.
Setup steps on this page
Set up Registers
Use this page to create or edit registers, assign a hardware profile, visual profile, screen layout and EFT terminal ID, turn on offline support, and configure peripheral IP addresses; afterwards run the Registers (1090) distribution schedule.
Steps from Microsoft
Go to Retail and Commerce > Channel setup > POS setup > Registers.
Select the register number of the register to configure, and then select Edit.
Assign the hardware profile to the register.
Select Save.
If network peripherals are used, on the Registers tab of the Action Pane select Configure IP addresses and enter the printer and cash drawer IP addresses.
Keep only register-specific values on the register (store, number, description, EFT terminal ID) and drive everything else through shared hardware and visual profilesProfiles can be shared by many registers, so most behaviour is easier to manage through them; register-level attributes are the ones unique to that till.
Changing the register or its hardware profile and testing straight away. Changes only reach POS after the Registers (1090) job, and cash drawer changes also need a new shift.
Solution architect
5Design impact
Can it be undone
Reversible: Register settings can be changed at any time; they apply after job 1090 runs.
If you change it later
Register changes reach the POS only after the Registers distribution schedule runs; some hardware profile changes, such as cash drawers, also need a new shift to be opened. Microsoft Learn
Technical architect
6Technical
Menu item
RetailTerminalTableChecked in Dynamics 365
Form
RetailTerminalTableChecked in Dynamics 365
Table
RetailTerminalTableShown as “POS REGISTERS” in Record infoKey field: terminalIdChecked in Dynamics 365
PrivilegesMaintain retail POS terminals RetailPosTerminalsMaintainDutiesMaintain retail registers RetailTerminalsMaintain4 security rolesRetail operations manager RetailOperationsManagerRetail service RetailServiceRetail store manager RetailStoreManagerInformation technology manager SysServerITManagerChecked in Dynamics 365
Roles to set it up and use it
To set it up or change itRetail service RetailServiceRetail operations manager RetailOperationsManagerRetail store manager RetailStoreManagerInformation technology manager SysServerITManagerGive people one of these roles. On this system, 4 roles can open this page.Checked in Dynamics 365
Actions on the page
Register(Action Pane without tabs): Configuration statusChecked in Dynamics 365