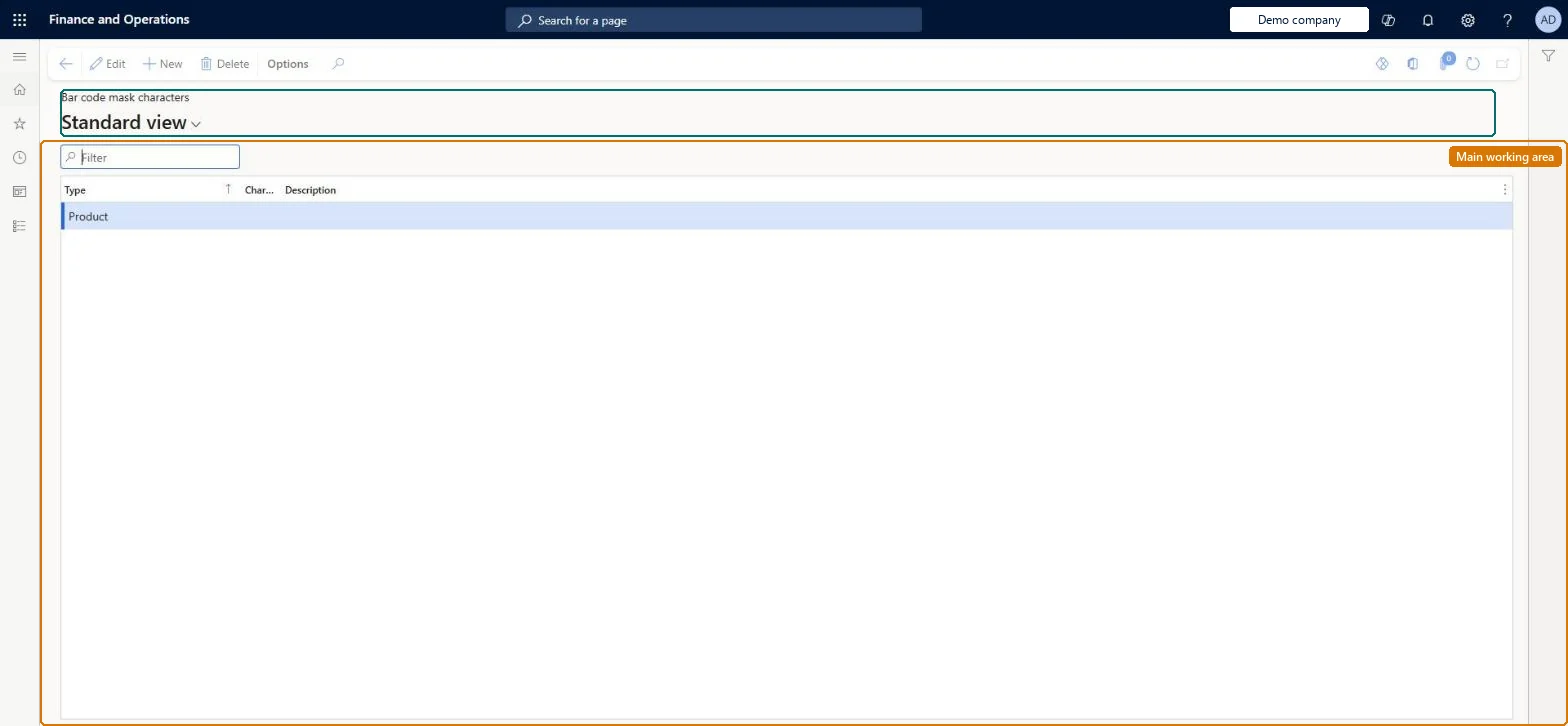
Setup step on the Mask characters page · Retail and Commerce
Set up Mask characters
Use this page to create the mask characters that a barcode mask needs before you can define masks for generating barcodes and recognising scanned ones at the POS.
Retail and CommerceInventory managementBar codes and labels
RetailBarcodeMaskCharacter
Used by
Retail operations manager, Retail service, Information technology manager
Business process
Manage sales channels
Menu item
RetailBarcodeMaskCharacter
Main table
RetailBarcodeMaskCharacter
Data entity
RetailBarcodeMaskCharacterEntity
Setup steps
1 on this page
Show what matters for
SETUP GUIDEHow to set it up8 sections. Choose a role to highlight what matters to you.
Everyone
1What it is and why
What it is
A setup page where you define the placeholder characters (product, any number, check digit, size, colour, style, price, quantity and so on) from which barcode masks are built.
What you do here
Use this page to create the mask characters that a barcode mask needs before you can define masks for generating barcodes and recognising scanned ones at the POS.
Example
For example, create a Price character so that a price-embedded barcode mask can mark where the price sits in the code.
The page in Dynamics 365. page title tab to open what to set or check
About the examples: Examples and screenshots in this guide use BEAT, a demo company in a Dynamics 365 test environment. Use your own company's codes and values instead of copying them.
Setup steps on this page
Set up Mask characters
Use this page to create the mask characters that a barcode mask needs before you can define masks for generating barcodes and recognising scanned ones at the POS.
Steps from Microsoft
Go to Retail and Commerce > Inventory management > Bar codes and labels > Mask characters.
Select New.
Enter the character and choose what it stands for (Product, Any number, Check digit, Size digit, Price and so on).
One mask character for each kind of data your barcodes carry (Product, Check digit, Price, Quantity, Coupon code and so on); use Coupon code, not Discount codeMasks can only be built from the characters defined here, and Discount code is deprecated and replaced by Coupon code.
Defining Discount code or Data entry characters: Discount code is deprecated and Data entry isn't implemented.
Solution architect
5Design impact
Can it be undone
Reversible: Characters can be edited, but every mask built from a character reads barcodes with it.
Technical architect
6Technical
Menu item
RetailBarcodeMaskCharacterChecked in Dynamics 365
Form
RetailBarcodeMaskCharacterChecked in Dynamics 365
Table
RetailBarcodeMaskCharacterShown as “BAR CODE MASK CHARACTERS” in Record infoChecked in Dynamics 365
To set it up or change itRetail service RetailServiceRetail operations manager RetailOperationsManagerInformation technology manager SysServerITManagerGive people one of these roles. On this system, 3 roles can open this page.Checked in Dynamics 365