About the examples: Examples and screenshots in this guide use BEAT, a demo company in a Dynamics 365 test environment. Use your own company's codes and values instead of copying them.
Step by step, with screenshots
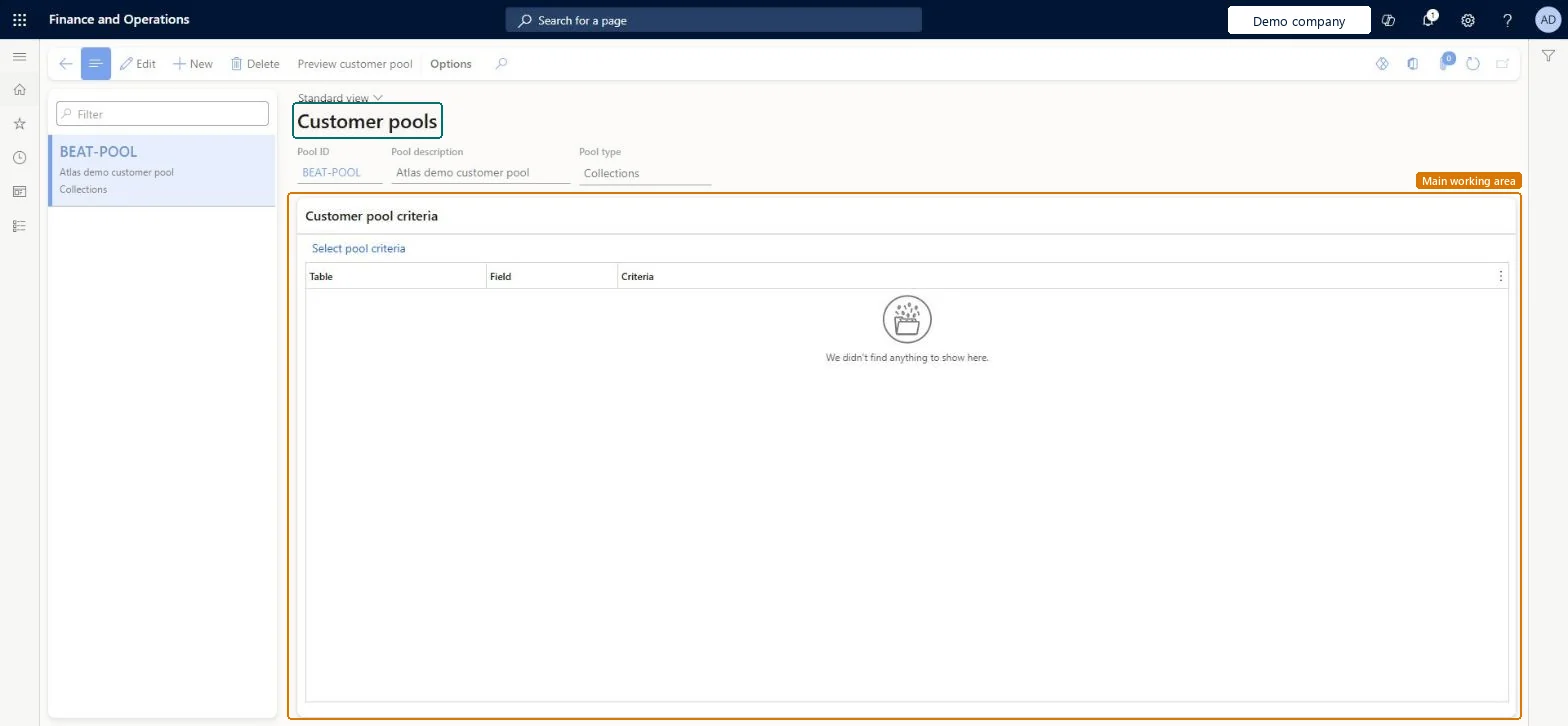
Set up Customer pools1 screen
Use this page to filter the collections list pages and the Collections page, and to choose which customers an aging snapshot includes.
Screen 1
Create a customer pool
Go to Credit and collections > Setup > Customer pools
Select New
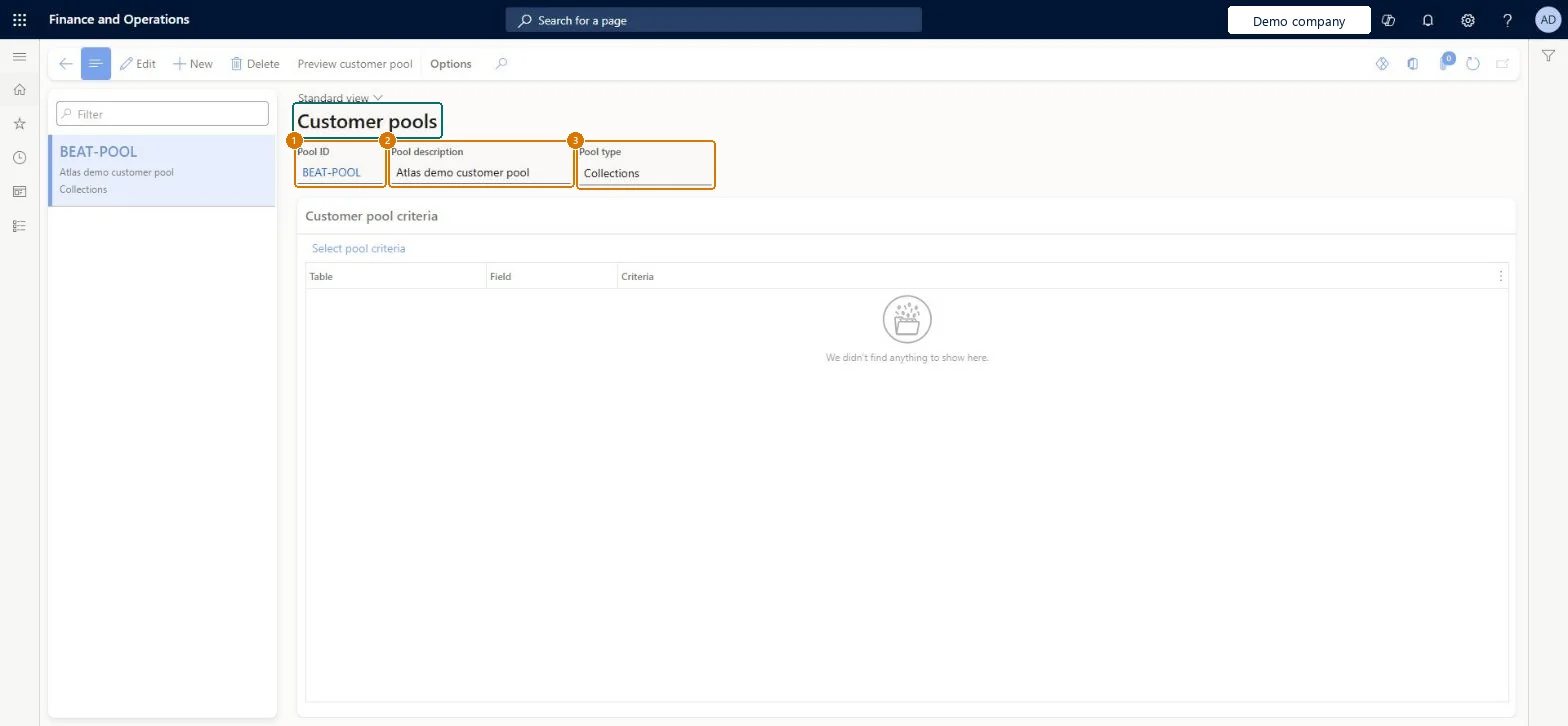
Enter the pool ID and description
Leave the pool type as Collections
Select Select pool criteria to filter which customers the pool holds, or keep the default
Select Save
1Pool ID
BEAT-POOL
2Pool description
Customer pool
3Pool type
Collections
Show the full screen page title tab to open what to set or check
Steps from Microsoft
Go to Credit and collections > Setup > Customer pools.
Select New.
Enter a Pool ID and a Pool description.
Select Select pool criteria, enter the criteria and select OK.
Select Preview customer pool to check which customers are included.
Pools by collections responsibility (region, customer group or account range), with Pool type Aging snapshot for any pool used to age a subset of customers.Pools filter the Aged balances, Collections activities and Collections cases list pages and the Collections page, and the pool selected in Age customer balances must be of the Aging snapshot type.
Creating pools but not assigning them to collections agents: pools only filter the collections list pages for users set up as collections agents.
Reversible: A pool is a query; changing its criteria affects the next aging snapshot and the next time the list pages are filtered.
Technical architect
6Technical
Menu item
CustCollectionsPoolChecked in Dynamics 365
Form
CustCollectionsPoolChecked in Dynamics 365
Table
CustCollectionsPoolShown as “Customer pools” in Record infoChecked in Dynamics 365
Roles to set it up and use it
To set it up or change itCollections manager CollectionLetterCollectionsManagerAccounts receivable manager CustInvoiceAccountsReceivableManagerAccounting supervisor LedgerAccountingSupervisorTo use itAccounting manager LedgerAccountingManagerAuditor AuditPolicyManagerFinancial controller LedgerFinancialControllerGive people one of these roles. On this system, 6 roles can open this page.Checked in Dynamics 365
Actions on the page
Options: Personalize, Page options, ShareChecked in Dynamics 365
Checked in a working Dynamics 365 system, version 10.0.49: the menu item, form, table and security, the page, the demo records and the values in the screenshots.
To cite this step: CC-SETUP-030, Set up Customer pools. Beyond ERP Atlas Hub, 2026-11-11. https://www.beyonderp.cloud/atlas/step/CC-SETUP-030