Setup step on the Receipt formats page · Retail and Commerce
Set up Receipt formats
Use this page to create a receipt format for each receipt type, set its print behaviour and email behaviour, and design the header, lines and footer in the designer; formats are then grouped into receipt profiles.
Retail operations manager, Retail service, Information technology manager
Business process
Manage sales channels
Menu item
RetailFormLayout
Main table
RetailFormLayout
Data entity
RetailFormLayoutEntity
Setup steps
1 on this page
Show what matters for
SETUP GUIDEHow to set it up8 sections. Choose a role to highlight what matters to you.
Everyone
1What it is and why
What it is
A setup page where you create form layouts (receipt formats) that control how receipts, invoices and other documents are printed or emailed, and from which you open the receipt format designer.
What you do here
Use this page to create a receipt format for each receipt type, set its print behaviour and email behaviour, and design the header, lines and footer in the designer; formats are then grouped into receipt profiles.
Example
For example, a gift receipt format set to As required lets the cashier print a gift receipt from the Change page only when one is needed.
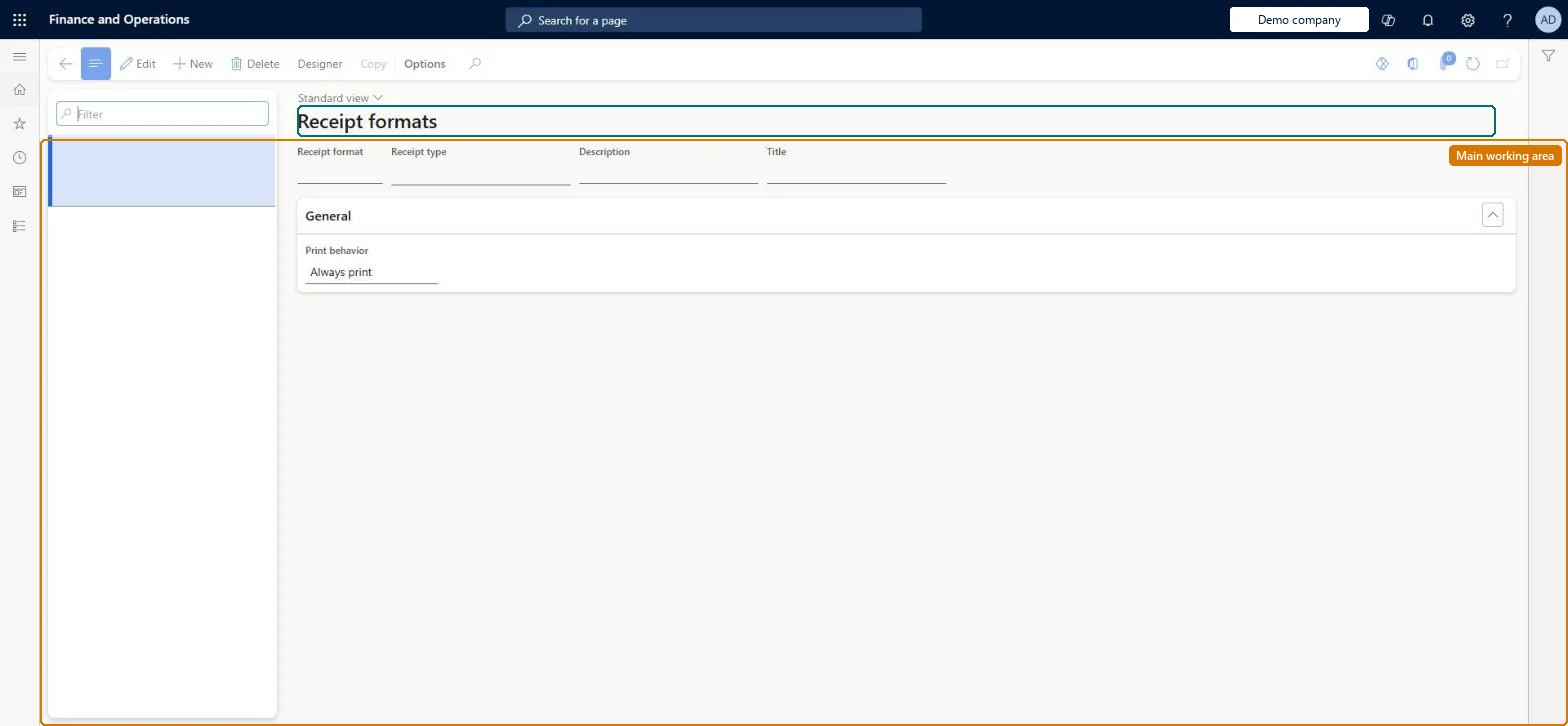
The page in Dynamics 365. page title tab to open what to set or check
About the examples: Examples and screenshots in this guide use BEAT, a demo company in a Dynamics 365 test environment. Use your own company's codes and values instead of copying them.
Setup steps on this page
Set up Receipt formats
Use this page to create a receipt format for each receipt type, set its print behaviour and email behaviour, and design the header, lines and footer in the designer; formats are then grouped into receipt profiles.
Steps from Microsoft
Go to Retail and Commerce > Channel setup > POS setup > POS > Receipt formats.
Select New to create a new form layout, or select an existing one.
In the Receipt format field enter an identifier, select the receipt type, and optionally enter a description and a Title.
On the General FastTab, select the print behaviour (Always print, Do not print, Prompt user, As required).
Select Designer, install the designer host if prompted, and sign in.
Drag Header, Lines and Footer elements to the workspace and set their properties.
Add the format to a receipt profile and run the Registers (1090) job.
One format per receipt type and paper width, Print behavior chosen per type, and Email behavior changed from Do not email to Prompt user or Always email only on formats you want emailedEvery format defaults to never being emailed, and Email behavior on the format overrides the Receipt option on Commerce parameters and the customer profile.
Using a colour or large logo. The Logo variable needs a monochrome .bmp, and an oversized image may not print at all.
Feature management and licence
Feature to turn on
Email any receipt type and customize emailed receipts (Optional)Email receipts from the Journal (Optional)
PrivilegesMaintain retail POS form layout RetailPOSFormLayoutMaintainMaintain retail POS till layout RetailPOSTillLayoutMaintianDutiesMaintain retail register reference data RetailTerminalReferenceDataMaintain3 security rolesRetail operations manager RetailOperationsManagerRetail service RetailServiceInformation technology manager SysServerITManagerChecked in Dynamics 365
Roles to set it up and use it
To set it up or change itRetail service RetailServiceRetail operations manager RetailOperationsManagerInformation technology manager SysServerITManagerGive people one of these roles. On this system, 3 roles can open this page.Checked in Dynamics 365
Actions on the page
(Action Pane without tabs): Designer, CopyChecked in Dynamics 365