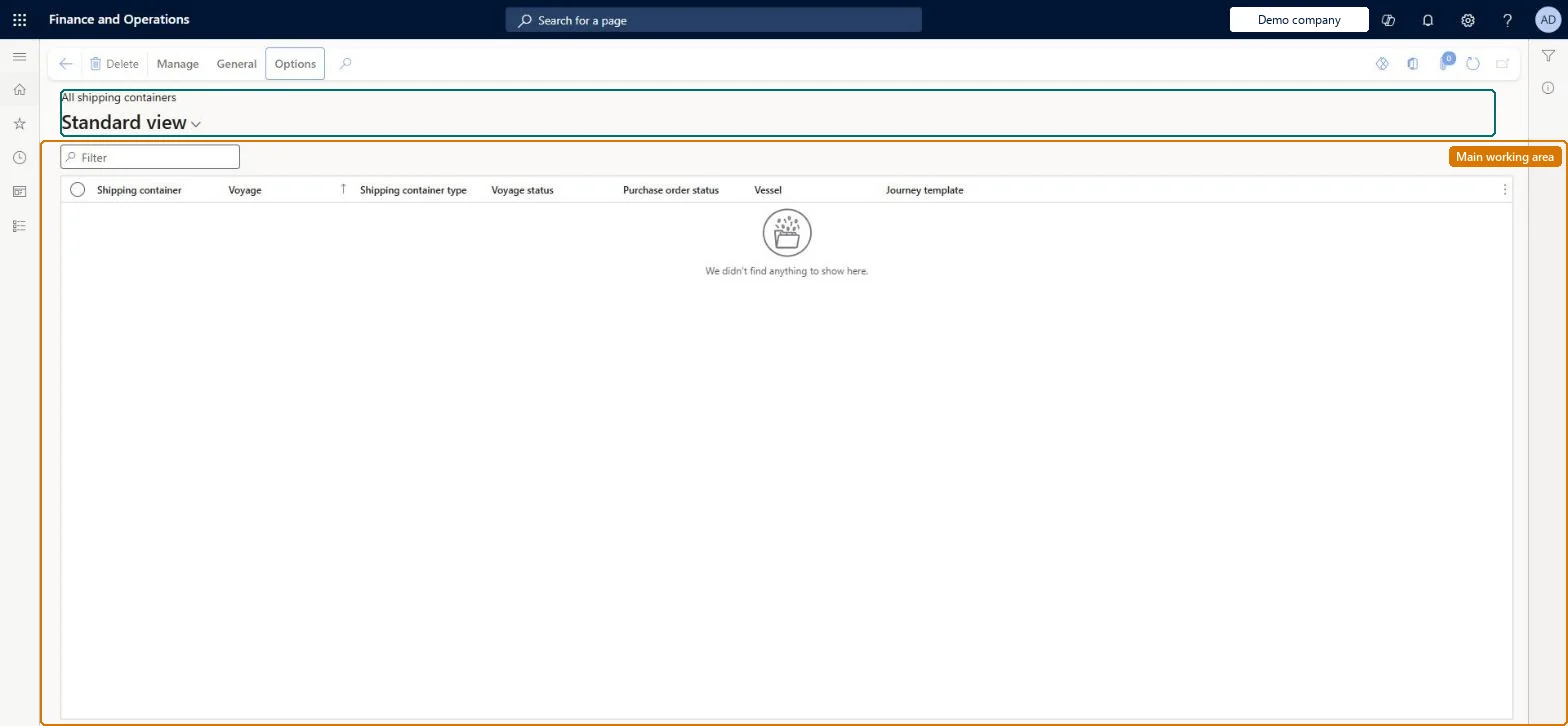
A list page that shows every shipping container, each of which groups the purchase order or transfer order lines that physically travel together on a voyage.
Plan inbound transportation loads in Dynamics 365 Supply Chain Management
Menu item
ITMContainersListPage
Main table
ITMContainers
Data entity
ITMContainersEntity
Show what matters for
PAGE GUIDEWhat the page does and how to use it8 sections. Choose a role to highlight what matters to you.
Everyone
1What it is and why
What it is
A list page that shows every shipping container, each of which groups the purchase order or transfer order lines that physically travel together on a voyage.
What you do here
Use this page to view and process the goods in a shipping container: post receipts lists, product receipts, and invoices, create arrival journals, rename or convert the container, and open its journey tracking and goods-in-transit orders.
Example
For example, use a shipping container when freight or other costs must be shared only across the goods that are physically packed in the same container.
The page in Dynamics 365. page title tab to open what to set or check
About the examples: Examples and screenshots in this guide use BEAT, a demo company in a Dynamics 365 test environment. Use your own company's codes and values instead of copying them.
Steps from Microsoft
Go to Landed cost > Voyages > All voyages.
Select the voyage, and then select Voyage editor on the Action Pane (or select New to create a voyage first).
Set the filters, and then select Generate data to list the inbound orders.
On the Lines to select FastTab, select the purchase order lines to include, and then select Add to staging list.
Select View staging list.
On the Lines in staging list FastTab, select Add to new shipping container.
In the Create shipping container dialog box, define the container, and then select OK.
The voyage's journey template, which supplies the from and to ports and the lead times used for tracking the container.Microsoft Learn
ShipJourneyId
Test checklist
Create a voyage in the Voyage editor, add purchase order lines to the staging list and select Add to new shipping container with a Shipping container type.
Open the container from All shipping containers and check the Shipping container type, Vessel and Journey template on the Header view.
Select Change journey template and check that the shipment costs are removed; run Find auto costs and check they come back.
Select Post product receipt and check that a product receipt is posted for every purchase order line in the container.
Open Goods in transit orders from the container and check only that container's records are shown.
Hard to reverse: Change journey template on a container deletes its shipment costs, so you must run Find auto costs or add the costs again. Receipts and invoices posted from the container with Post product receipt or Post invoice are normal postings and are not undone by editing the container. Microsoft Learn
If you change it later
Changing the journey template of a container deletes its shipment costs, so you must run Find auto costs or add the costs again. Microsoft Learn
Technical architect
6Technical
Menu item
ITMContainersListPageChecked in Dynamics 365
Form
ITMContainersListPageChecked in Dynamics 365
Table
ITMContainersShown as “VOYAGE CONTAINERS” in Record infoKey field: ShipId, ShipContainerIdChecked in Dynamics 365
Data entities
ITMContainersEntityShipping containers Checked in Dynamics 365