SETUP GUIDEHow to set it up8 sections. Choose a role to highlight what matters to you.
Everyone
1What it is and why
What it is
A setup page (Ready to post) where you list the transaction types, such as journals and orders, that a recurring batch should post automatically.
What you do here
Use this page to post transactions automatically after data, such as demo data, has been imported.
Example
For example, after importing demo data packages into HQUS, the administrator creates job DEMO-HQUS with a Daily journal line (target Post) and a Sales order line limited to a document range, marks it ready to post and reads Successful or Error per line.
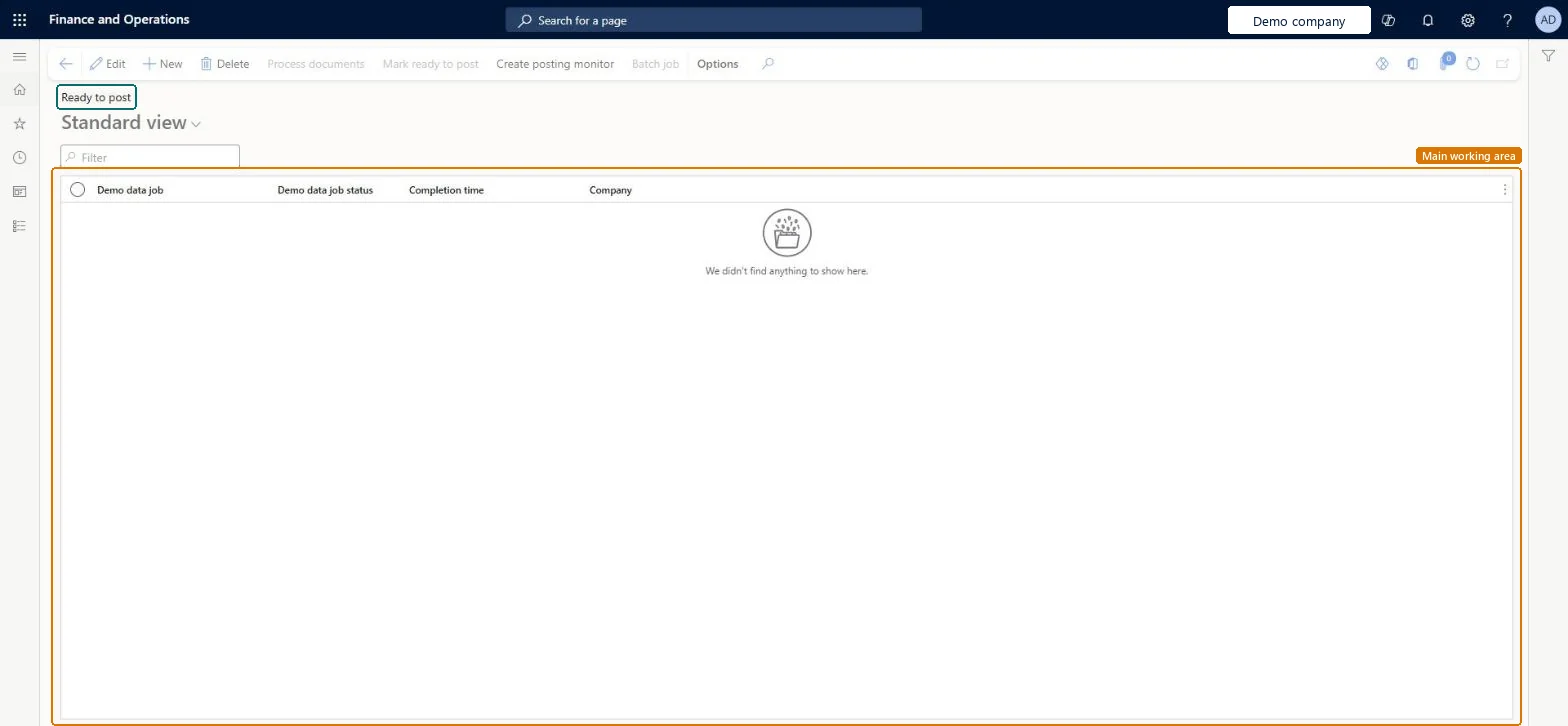
The page in Dynamics 365. page title tab to open what to set or check
About the examples: Examples and screenshots in this guide use BEAT, a demo company in a Dynamics 365 test environment. Use your own company's codes and values instead of copying them.
When to run it
When to run it
After demo or migration data has been imported and its journals, orders or invoices must be posted.
How often
On demand, after each data import that leaves transactions to post; the posting monitor itself keeps recurring.
Batch settings
The posting monitor runs as a recurring batch in each legal entity; Process documents schedules a one-off batch instead.
What the output shows
For each line, a status of Successful or Error with the posting results and links to the batch and the original transaction. An Error usually means the documents in the range couldn't pass their normal posting checks.
Post journals and orders automatically after demo or migration data is imported.
Steps from Microsoft
Go to System administration > Periodic tasks > Batch job ready to post.
Select Create posting monitor and set up a recurring batch. You need to do this only once for each legal entity.
Select New and enter a name for the job that is unique across all companies.
Select Add line, choose the transaction type and its target (Post for journals), and limit the line with a date range or document range where that is available.
Select Mark ready to post so the posting monitor processes each line, or select Process documents to start a batch at once without the monitor.
Follow the status from Ready to In Progress and then Successful or Error, and read the posting results at the bottom of the Ready to post page.
Starts the recurring posting batch; needed once per legal entity.Microsoft Learn
Once per legal entity
Mark ready to post
Sets the job to Ready so the posting monitor processes each line.Microsoft Learn
Process documents
Posts the documents straight away without waiting for the posting monitor.Microsoft Learn
Common errors and fixes
Message
What to do
A whole journal was posted although only some lines were in the date range
For journals with a date range, the whole journal posts as soon as any line falls in the range. Use a separate data package for transactions that must stay unposted. Microsoft Learn
Lines stay Ready and nothing posts
Create posting monitor wasn't run in this legal entity. Start the posting monitor once in each legal entity. Microsoft Learn
Test checklist
Each line ends with status Successful.
The posted journals and orders show as posted in their own modules.
Transactions outside the date or document range stay unposted.
Start the posting monitor once per legal entity, and limit each line with a date or document rangeLearn: the monitor must run in every legal entity where data is processed, and journals post whole as soon as one line is in range.
No, once posted: Posted documents must be reversed in their own module.
If you change it later
For journals with a date range, the whole journal is posted as soon as any one line falls in the range. Microsoft Learn
Technical architect
6Technical
Menu item
DemoDataPostChecked in Dynamics 365
Form
DemoDataPostChecked in Dynamics 365
Table
DemoDataPostRunChecked in Dynamics 365
Data entities
DemoDataPostEntityDemo data posting entity
Who can open it
PrivilegesDemoDataPostMaintainChecked in Dynamics 365
Actions on the page
Options: Personalize, Page options, ShareChecked in Dynamics 365
Developer
7Developer
Open it by URL
https://<your-environment>/?mi=DemoDataPost
Integrate with
DemoDataPostEntity data entity
Data migration
DemoDataPostEntity (Demo data posting entity): per company. Insert it at the end of the data project, after all transaction entities, with a higher sequence number; ProcessOnImport = Yes sets the job to Ready.Load order: Put the Ready to post entity last in the data project, after all transaction entities; it isn't in Microsoft's default templates in this system.Load first: the transaction entities whose documents it postsMicrosoft Learn
Checked in a working Dynamics 365 system, version 10.0.49: the menu item, form, table and security, the page.
To cite this step: SA-JOB-850, Post imported transactions with Ready to post. Beyond ERP Atlas Hub, 2026-11-11. https://www.beyonderp.cloud/atlas/step/SA-JOB-850