About the examples: Examples and screenshots in this guide use BEAT, a demo company in a Dynamics 365 test environment. Use your own company's codes and values instead of copying them.
Setup steps on this page
Set up Status
Use this page to add or remove as many status values as your business process needs, giving each a name and a description.
Steps from Microsoft
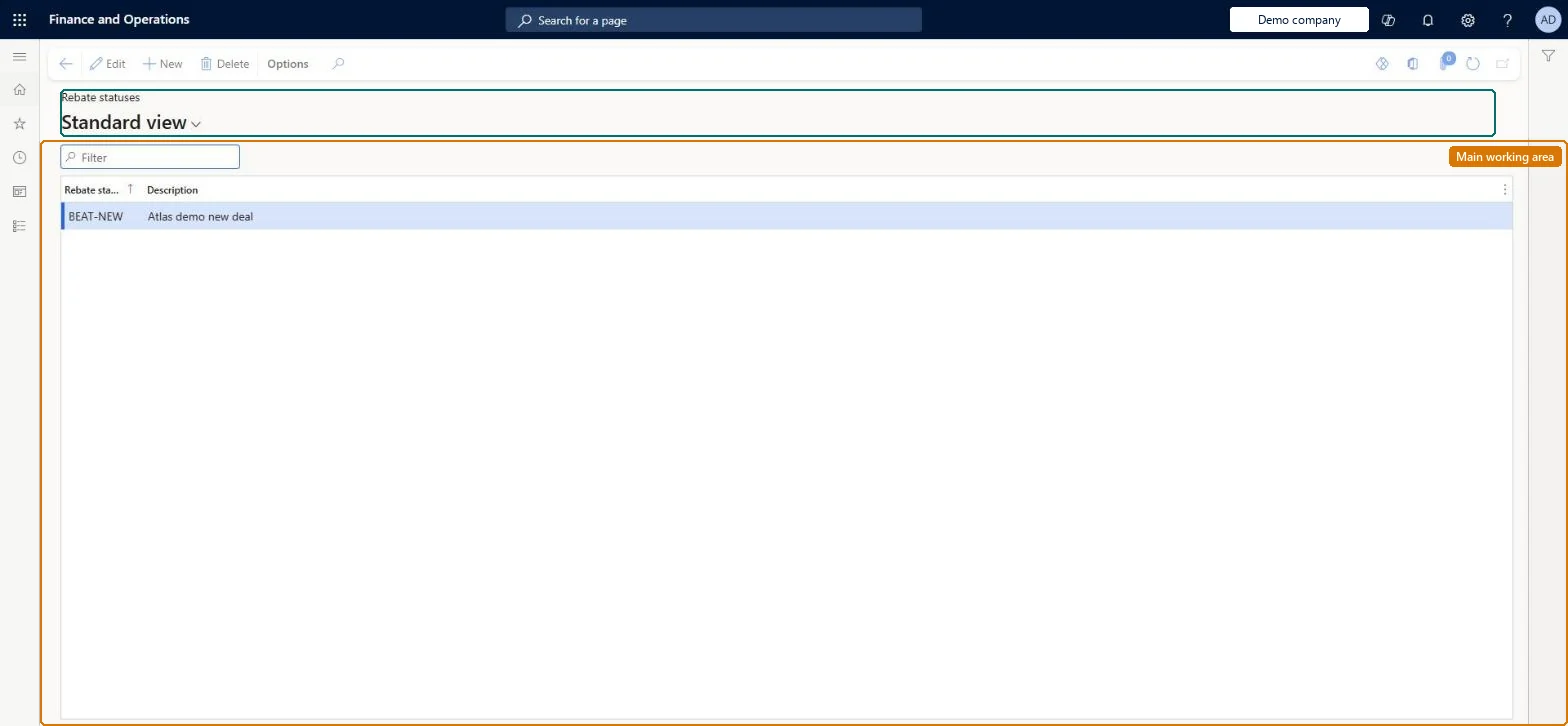
Go to Rebate management > Setup > Status > Status.
Select New on the Action Pane.
Enter the Rebate status name.
Enter a Description of how the status should be used.
Save.
Optionally, select one of the statuses as Default status on the Rebate management parameters page.
As many statuses as your deal tracking and reporting need, each with a clear description.A deal's status is for information only, so statuses support tracking and reporting without changing calculations.
Using a status such as Approved to control processing. Only deals made active through the deal workflow are processed, whatever their status.
Solution architect
5Design impact
Can it be undone
Reversible: Statuses can be added or removed at any time; they don't affect processing.
If you change it later
A deal's status is for information only; it does not control processing, so adding or changing statuses affects tracking and reporting rather than calculations. Microsoft Learn
Technical architect
6Technical
Menu item
TAMRebateStatusTableChecked in Dynamics 365
Form
TAMRebateStatusTableChecked in Dynamics 365
Table
TAMRebateStatusTableShown as “REBATE STATUSES” in Record infoChecked in Dynamics 365
Data entities
TAMRebateAndDeductionsStatusEntityRebate management status Checked in Dynamics 365
To set it up or change itAccounts payable manager VendInvoiceAccountsPayableManagerAccounts receivable clerk CustInvoiceAccountsReceivableClerkSales manager TradeSalesManagerTo use itAccounts receivable manager CustInvoiceAccountsReceivableManagerPurchasing manager TradePurchasingManagerGive people one of these roles. On this system, 5 roles can open this page.Checked in Dynamics 365