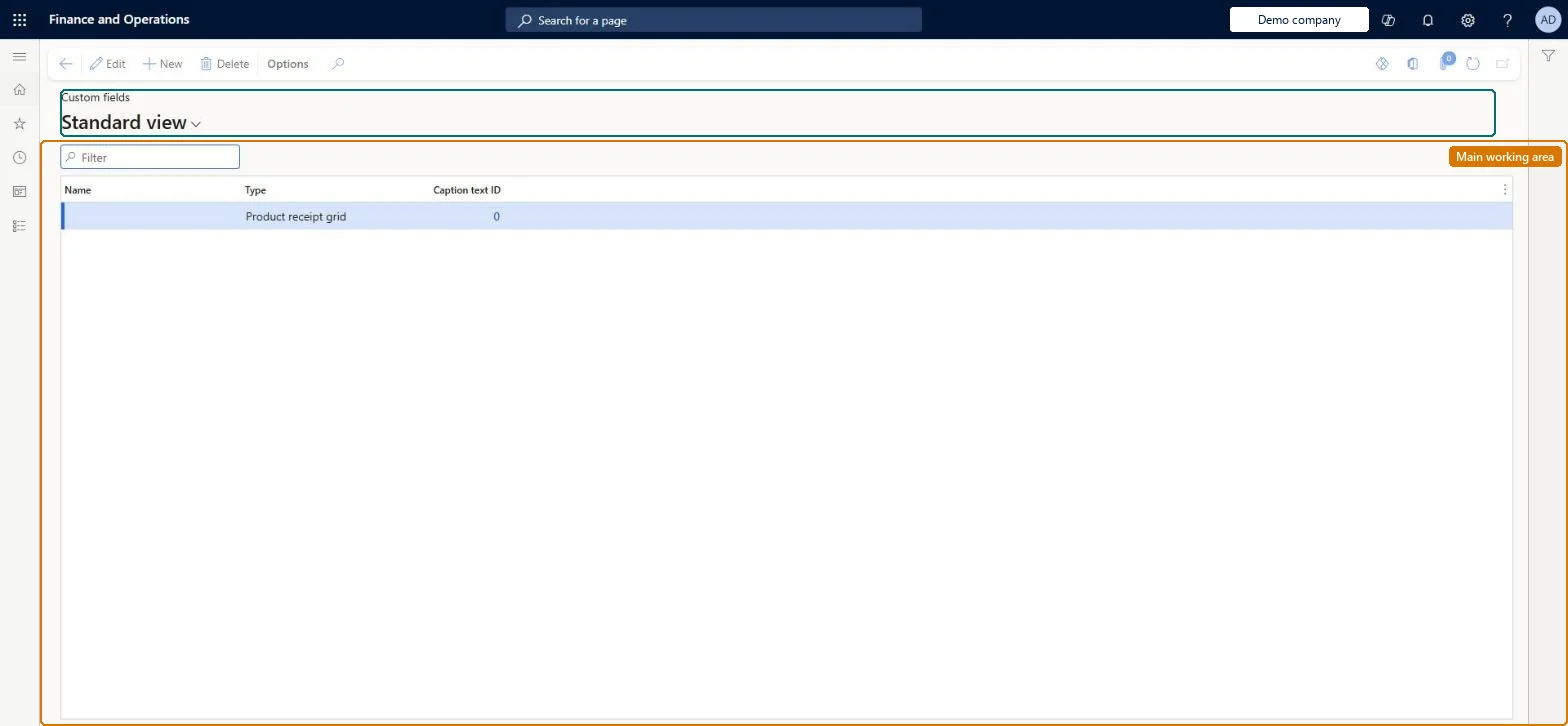
Setup step on the Custom fields page · Retail and Commerce
Set up Custom fields
Use this page to register a custom field, link its caption to a Language text entry, and make it available in the receipt designer or the screen layout designer; the logic that fills the field is written in CRT or POS extensions.
Retail and CommerceChannel setupPOS setupPOS profiles
RetailTerminalCustomField
Used by
Retail operations manager, Retail service, Information technology manager
Business process
Manage sales channels
Menu item
RetailTerminalCustomField
Main table
RetailTerminalCustomField
Data entity
RetailTerminalCustomFieldEntity
Setup steps
1 on this page
Show what matters for
SETUP GUIDEHow to set it up8 sections. Choose a role to highlight what matters to you.
Everyone
1What it is and why
What it is
A setup page where you define custom fields (name, type such as Receipt or Totals area, and caption text ID) that extend receipts or the POS Totals panel beyond the fields provided out of the box.
What you do here
Use this page to register a custom field, link its caption to a Language text entry, and make it available in the receipt designer or the screen layout designer; the logic that fills the field is written in CRT or POS extensions.
Example
For example, Fabrikam adds WARRANTYID and EXPIRATIONDATE receipt fields so that sales receipts can print warranty details.
The page in Dynamics 365. page title tab to open what to set or check
About the examples: Examples and screenshots in this guide use BEAT, a demo company in a Dynamics 365 test environment. Use your own company's codes and values instead of copying them.
Setup steps on this page
Set up Custom fields
Use this page to register a custom field, link its caption to a Language text entry, and make it available in the receipt designer or the screen layout designer; the logic that fills the field is written in CRT or POS extensions.
Steps from Microsoft
Go to Retail and Commerce > Channel setup > POS setup > POS profiles > Custom fields.
On the Action Pane, select New.
In the Name field, enter the name of the custom field.
In the Type field, select Receipt or Totals area.
In the Caption text ID field, specify the text ID created on the Language text page.
On the Action Pane, select Save.
Place the field in the receipt format designer or the screen layout designer, then run job 1070 (receipts) or 1090 (screen layouts).
Create the caption on Language text first, then the custom field with Type Totals area or Receipt and that Caption text IDThe custom field's caption comes from a Language text entry, which also lets you give the caption in several languages.
Entering a Caption text ID that has no Language text entry, so the field has no label in POS.
Solution architect
5Design impact
Can it be undone
Reversible: Fields can be edited; the value logic lives in the CRT or POS extension.
If you change it later
Custom fields belong to one legal entity, so the designer only shows the fields of the company set on the signed-in user. Microsoft Learn
Technical architect
6Technical
Menu item
RetailTerminalCustomFieldChecked in Dynamics 365
Form
RetailTerminalCustomFieldChecked in Dynamics 365
Table
RetailTerminalCustomFieldShown as “RETAIL REGISTER CUSTOM FIELD” in Record infoChecked in Dynamics 365
PrivilegesMaintain retail POS custom fields RetailPOSCustomFieldsMaintainDutiesMaintain retail register reference data RetailTerminalReferenceDataMaintain3 security rolesRetail operations manager RetailOperationsManagerRetail service RetailServiceInformation technology manager SysServerITManagerChecked in Dynamics 365
Roles to set it up and use it
To set it up or change itRetail service RetailServiceRetail operations manager RetailOperationsManagerInformation technology manager SysServerITManagerGive people one of these roles. On this system, 3 roles can open this page.Checked in Dynamics 365