Product information managementSetupCountry of Origin
COORules
Used by
View Country of Origin and Dual Use functionality, Manage Country of Origin and Dual Use functionality
Business process
Develop product strategy
Menu item
COORules
Main table
COORule
Setup steps
1 on this page
Show what matters for
SETUP GUIDEHow to set it up8 sections. Choose a role to highlight what matters to you.
Everyone
1What it is and why
What it is
A setup page where you link an item to its destination country/region and its country/region of origin.
What you do here
Use this page to record where each item is shipped from and where it is sent to, before you issue certificates for the item.
Example
For example, the country/region of origin that you set here can be included for each part on a bill of materials report for a chosen destination country/region.
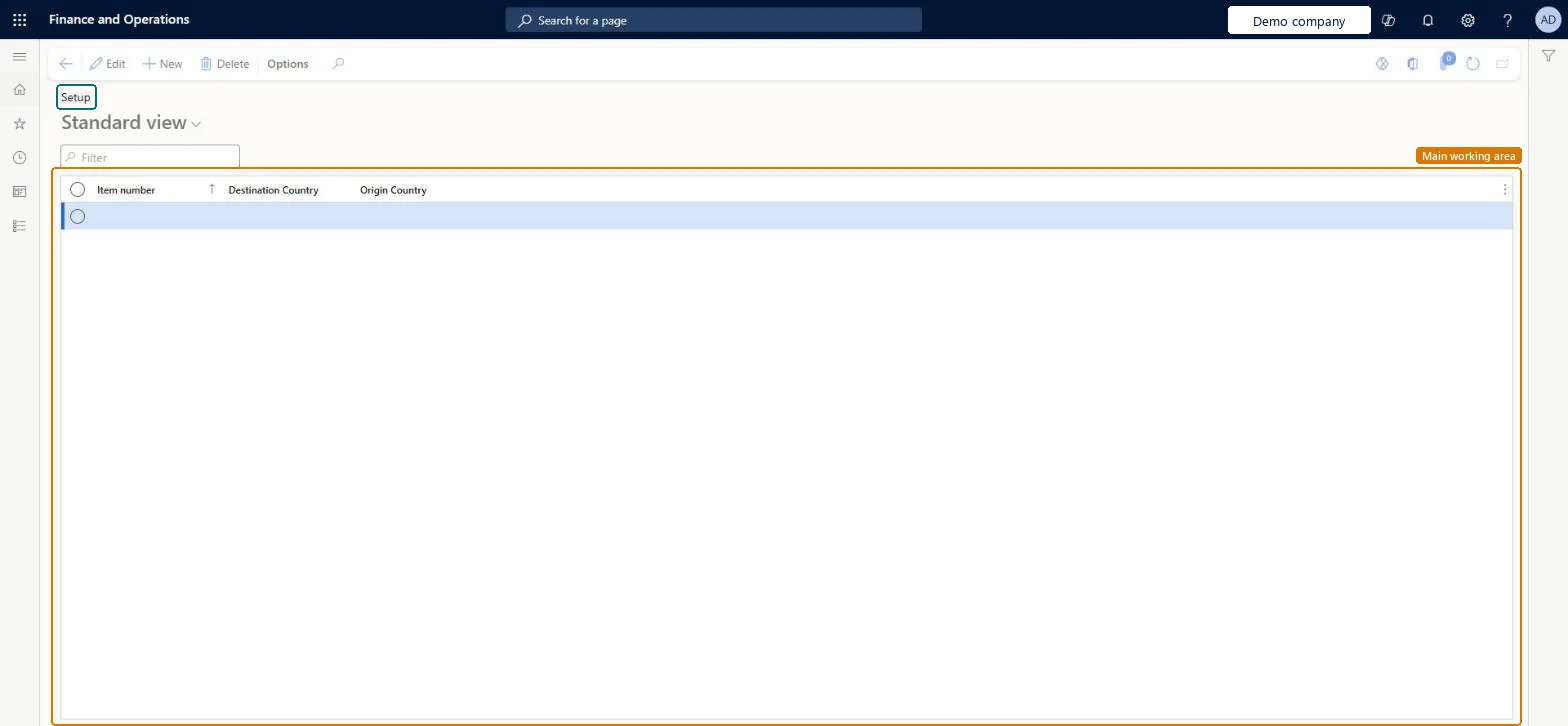
The page in Dynamics 365. page title tab to open what to set or check
About the examples: Examples and screenshots in this guide use BEAT, a demo company in a Dynamics 365 test environment. Use your own company's codes and values instead of copying them.
Setup steps on this page
Set up Country of Origin Rules
Use this page to record where each item is shipped from and where it is sent to, before you issue certificates for the item.
Steps from Microsoft
Go to Product information management > Setup > Country of Origin > Country of Origin Rules.
Select an existing country/region setup to edit, or select New on the Action Pane to create a new country/region setup.
Set the Item number, Destination Country and Origin Country fields.
One rule per item and destination country/region, with the Origin Country the item ships from, for every BOM part you need on the origin reportThe BOM report shows the country/region of origin only for parts that have a rule for the destination you select when you print it.
Expecting certificate numbers to print on invoices, packing slips or confirmations. Country of origin management only tracks them; the standard reports must be extended before anything prints.
Number sequences
Reference
Shared or per company
Note
Item number
Per company
New records on this page take their Item number from the ItemId reference; BEAT uses number sequence Inve_3. Checked in Dynamics 365
Reversible: Rules are reference data read when you print the BOM report. You can add, change or delete them at any time; the next report uses the new rules.
Technical architect
6Technical
Menu item
COORulesChecked in Dynamics 365
Form
COORulesChecked in Dynamics 365
Table
COORuleShown as “COUNTRY OF ORIGIN RULES” in Record infoKey field: ItemId, DestCountryRegionIdChecked in Dynamics 365
Who can open it
PrivilegesMaintain Country of Origin Setup COOMaintainView Country of Origin Setup COOViewDutiesMaintain Country of Origin Setup COOMaintainView Country of Origin and Dual Use Data COOView2 security rolesView Country of Origin and Dual Use functionality COOClerkManage Country of Origin and Dual Use functionality COOManageChecked in Dynamics 365
Roles to set it up and use it
To set it up or change itManage Country of Origin and Dual Use functionality COOManageTo use itView Country of Origin and Dual Use functionality COOClerkGive people one of these roles. On this system, 2 roles can open this page.Checked in Dynamics 365