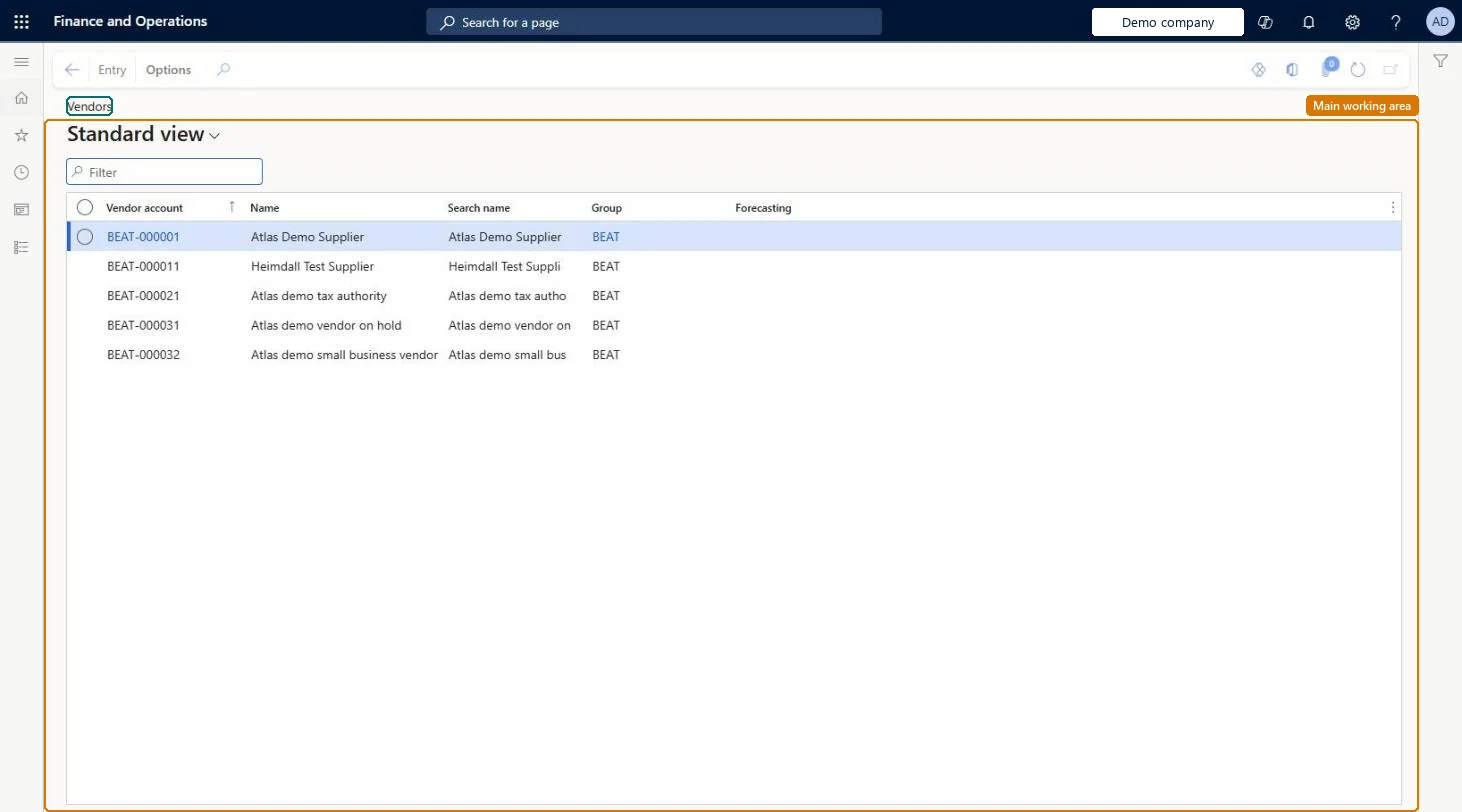
About the examples: Examples and screenshots in this guide use BEAT, a demo company in a Dynamics 365 test environment. Use your own company's codes and values instead of copying them.
Steps from Microsoft
Go to Master planning > Forecasting > Manual forecast entry > Vendors.
Select the vendor to create a forecast for.
On the Action Pane, select Entry.
On the Supply forecast page, select New to add a forecast line.
In the Model field, select the forecast model, and then enter the item and quantity.
On the Overview tab, select Allocate forecast to spread the forecast over the period.
PrivilegesView supply forecast entries for vendors ForecastVendViewDutiesMaintain supply forecasts ForecastSupplyForecastMaintainInquire into supply forecasts ForecastSupplyForecastProgressInquire3 security rolesMaterials manager InventMaterialsManagerProduction planner ReqProductionPlannerPurchasing manager TradePurchasingManagerChecked in Dynamics 365
Roles to set it up and use it
To use itProduction planner ReqProductionPlannerMaterials manager InventMaterialsManagerPurchasing manager TradePurchasingManagerGive people one of these roles. On this system, 3 roles can open this page.Checked in Dynamics 365
Actions on the page
(Action Pane without tabs): EntryChecked in Dynamics 365
VendVendorV2Entity (Vendors V2): loaded for each company, in Microsoft's default template 120 - Accounts payable.Load order: Microsoft's default template 120 - Accounts payable loads Vendors V2 at execution unit 1, level 120, sequence 35. Lower levels load first, and entities at the same level load in sequence order.Load first: the default templates at lower levels (System setup to Bank)Microsoft Learn