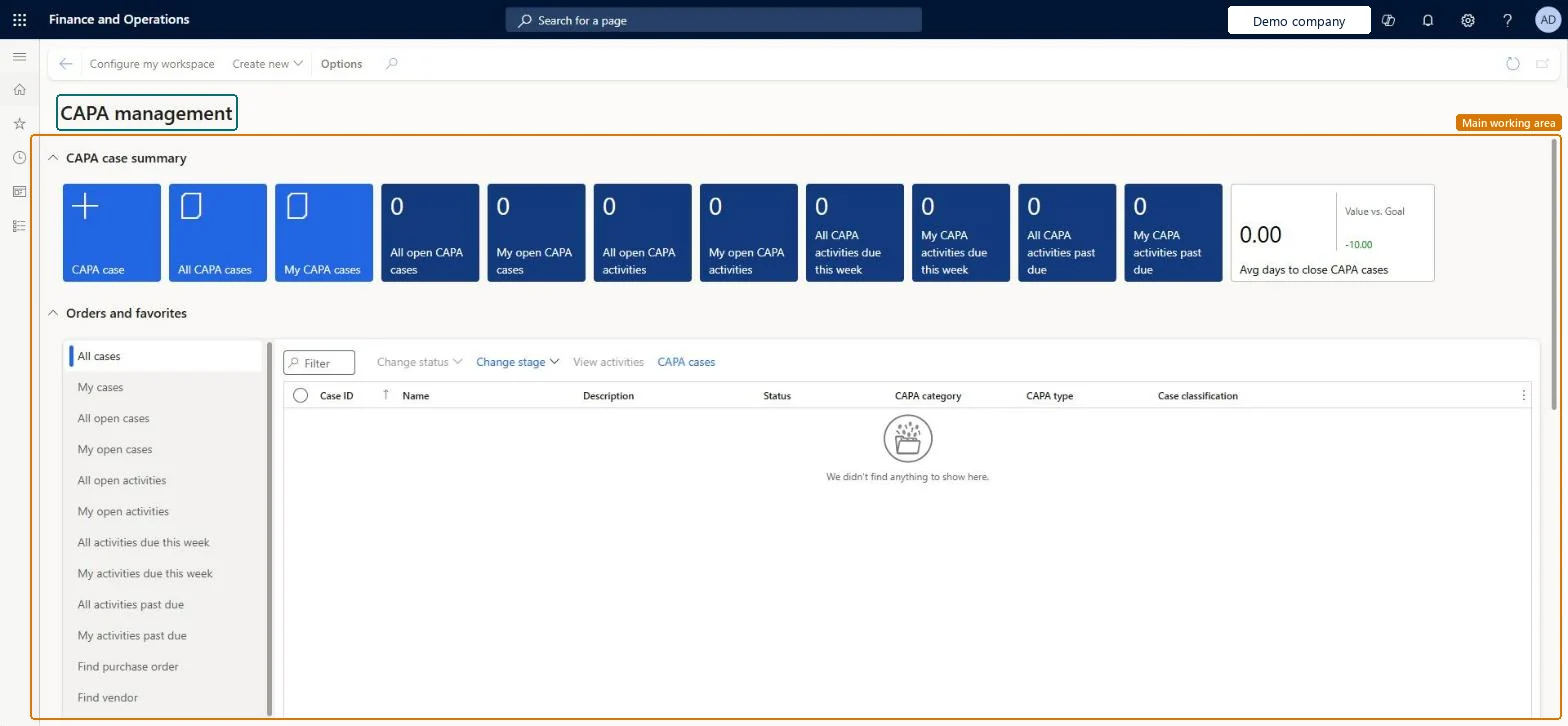
About the examples: Examples and screenshots in this guide use BEAT, a demo company in a Dynamics 365 test environment. Use your own company's codes and values instead of copying them.
Steps from Microsoft
Go to Inventory management > Workspaces > CAPA management.
On the Action Pane, select Create new > CAPA case, fill in the New CAPA case dialog and select OK.
Select the case and select Change status > In process so that it can move through its stages.
Open each activity of the current stage, add notes, and select Set as complete when it's done.
When all mandatory activities are closed, select Change stage and choose the next stage.
When the work is finished, fill in the Resolution FastTab on the case and select Set as complete to close it.
Chooses which kind of statistics the left chart on the Statistics FastTab shows.Microsoft Learn
Trending of cases by
Chooses the period that the right chart on the Statistics FastTab shows.Microsoft Learn
Solution architect
4Design impact
If you change it later
You can skip stages, but once a case moves to a later stage it can't go back to an earlier one. Microsoft Learn
Technical architect
5Technical
Menu item
QMSInventCAPAWorkspaceChecked in Dynamics 365
Form
QMSInventCAPAWorkspaceChecked in Dynamics 365
Who can open it
PrivilegesMaintain CAPA management workspace QMSInventCAPAWorkspaceMaintainView CAPA management workspace QMSInventCAPAWorkspaceViewDutiesMaintain elements of CAPA management workspace QMSInventCAPAWorkspaceMaintain4 security rolesQuality control clerk InventQualityControlClerkQuality control manager InventQualityControlManagerCAPA administrator QMSCAPAAdministratorCAPA updater QMSCAPAUpdaterChecked in Dynamics 365
Roles to set it up and use it
To set it up or change itQuality control manager InventQualityControlManagerQuality control clerk InventQualityControlClerkCAPA updater QMSCAPAUpdaterCAPA administrator QMSCAPAAdministratorGive people one of these roles. On this system, 4 roles can open this page.Checked in Dynamics 365