SETUP GUIDEHow to set it up8 sections. Choose a role to highlight what matters to you.
Everyone
1What it is and why
What it is
A setup page where you manage the network printers that Document Routing Agents register and make them active for printing.
What you do here
Use this page to edit printer paths, activate printers for the current company, and download the Document Routing Agent installer.
Example
For example, users in one company can use all registered printers, while users in another company get no access until it is turned on for that company.
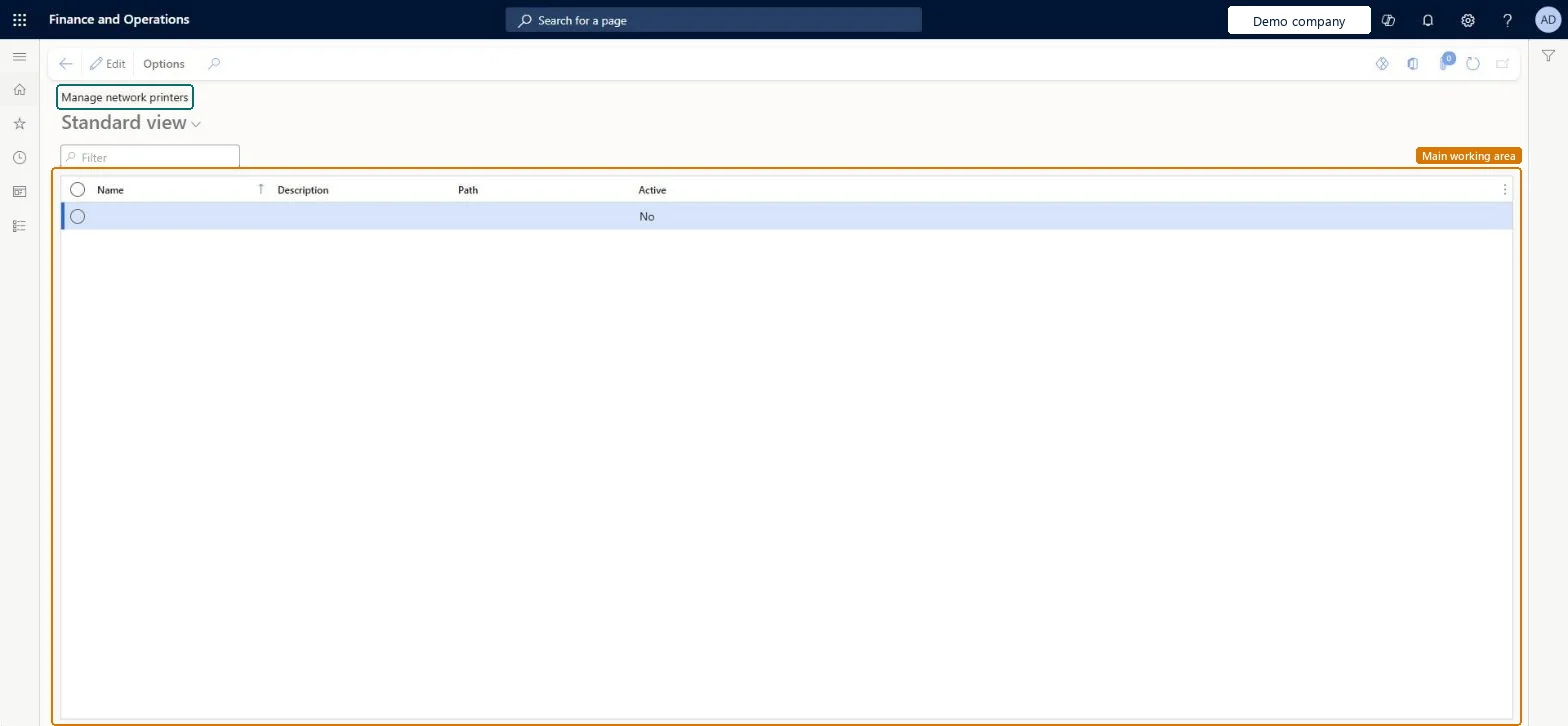
The page in Dynamics 365. page title tab to open what to set or check
About the examples: Examples and screenshots in this guide use BEAT, a demo company in a Dynamics 365 test environment. Use your own company's codes and values instead of copying them.
Setup steps on this page
Set up Network printers
Use this page to edit printer paths, activate printers for the current company, and download the Document Routing Agent installer.
Steps from Microsoft
Go to Organization administration > Setup > Network printers.
On the Options tab, select Download document routing agent installer and install the agent.
In the Document Routing Agent, register the printers that should be available.
Back on the Network printers page, edit the entry for each printer, including its connection path.
Set Active to Yes to offer the printer as a print destination.
Activate only printers that are registered by a live Document Routing Agent, in each company that needs them, with two or three agents (no more than three) per printerPrinter settings are per company, so activating in one company doesn't give access in another. Microsoft recommends several agents for high availability but no more than three per printer, because each agent poll queries the print queue.
Leaving printers active after they're gone. Documents sent to a printer that no longer exists keep growing the print queue and slow down the queries that poll it.
Reversible: Set Active to No at any time to remove the printer from Print Destinations in the current company. Other companies keep their own setting.
If you change it later
Printer settings are kept per company, so activating a printer in one company doesn't give access in another. Microsoft Learn
Technical architect
6Technical
Menu item
SysCorpNetPrintersChecked in Dynamics 365
Form
SysCorpNetPrinterListChecked in Dynamics 365
Table
SysCorpNetPrintersShown as “Network printer details” in Record infoChecked in Dynamics 365
Who can open it
PrivilegesSysCorpNetPrinterMaintainSysCorpNetPrinterViewDutiesMaintain system settings SysServerSettingsMaintain1 security roleInformation technology manager SysServerITManagerChecked in Dynamics 365
Roles to set it up and use it
To set it up or change itInformation technology manager SysServerITManagerGive people one of these roles. On this system, 1 role can open this page.Checked in Dynamics 365
Actions on the page
Options: Personalize, Page options, Share, Application, PreviewChecked in Dynamics 365