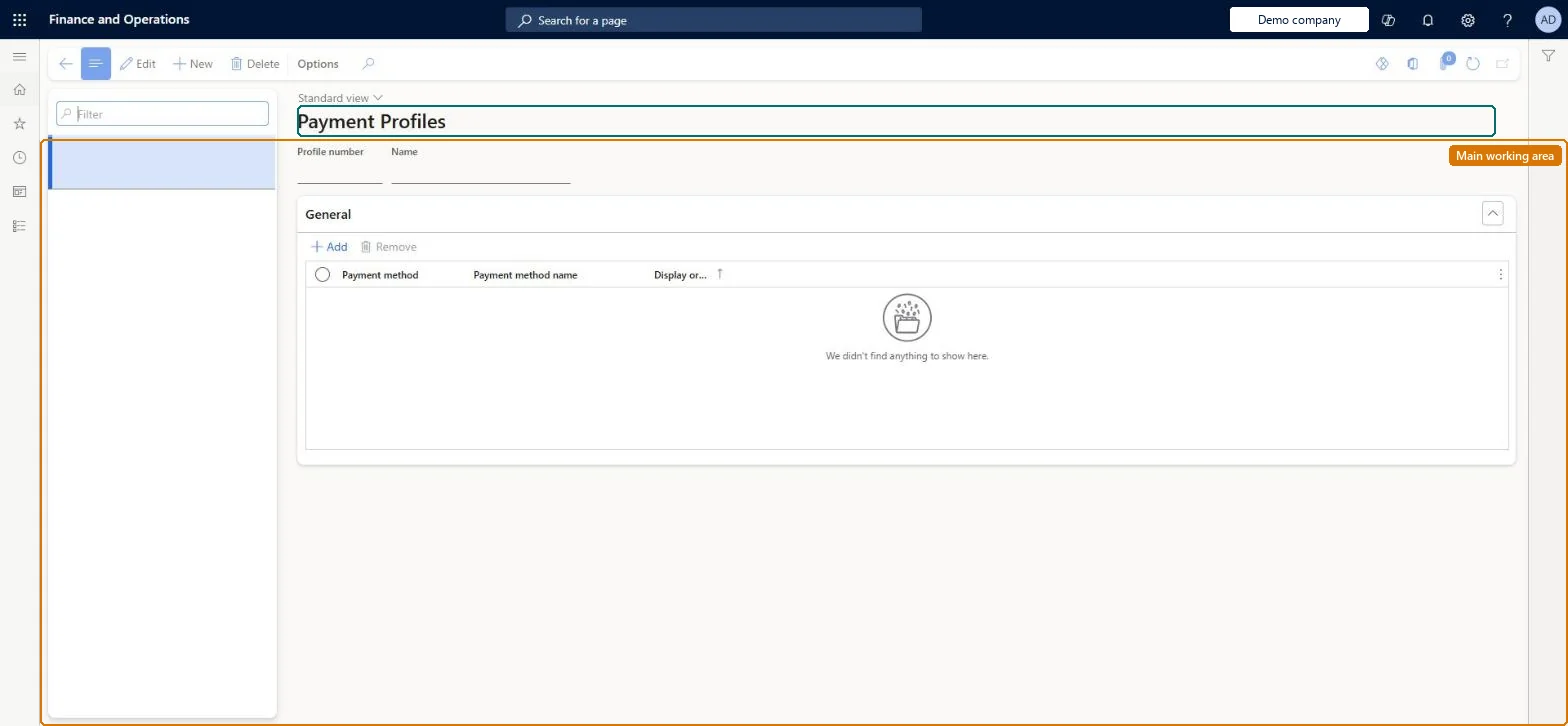
A setup page where you create payment profiles that control which payment methods are available on a POS register and the order in which they are displayed.
Retail and CommerceChannel setupPOS setupPOS profiles
RetailPaymentProfile
Used by
Retail operations manager, Retail service
Business process
Manage sales channels
Menu item
RetailPaymentProfile
Main table
RetailPaymentProfile
Setup steps
1 on this page
Show what matters for
PAGE GUIDEWhat the page does and how to use it8 sections. Choose a role to highlight what matters to you.
Everyone
1What it is and why
What it is
A setup page where you create payment profiles that control which payment methods are available on a POS register and the order in which they are displayed.
What you do here
Use this page to create reusable profiles that list the payment methods a register should show, with an optional display order, and then assign a profile to individual registers so that each station only shows relevant payment methods. It also lets you hide legacy payment methods without deleting them.
Example
For example, you can exclude cash from a mobile register that only supports Tap to Pay.
The page in Dynamics 365. page title tab to open what to set or check
About the examples: Examples and screenshots in this guide use BEAT, a demo company in a Dynamics 365 test environment. Use your own company's codes and values instead of copying them.
Setup steps on this page
Set up Payment Profiles
Use this page to create reusable profiles that list the payment methods a register should show, with an optional display order, and then assign a profile to individual registers so that each station only shows relevant payment methods. It also lets you hide legacy payment methods without deleting them.
Steps from Microsoft
Go to Retail and Commerce > Channel setup > POS setup > POS profiles > Payment Profiles.
Select New.
Enter a Payment profile number and a Profile name.
In the payment methods subgrid, select Add and pick a payment method; repeat for each method to include.
Optionally set the Display order value for each payment method.
Go to Retail and Commerce > Channel setup > POS setup > Registers, open the register and select the profile in the Payment profiles field, then Save.
One payment profile per register type (for example mobile Tap to Pay or self-checkout) listing only the methods it supports, with a Display orderLearn says registers otherwise inherit every store payment method in system order, so methods appear on registers that can't take them; a profile limits and orders them and hides legacy methods without deleting them.
Adding a payment method to the profile that isn't set up on the store, or forgetting job 1090. The method doesn't show on the register, and no change reaches POS until 1090 (Registers) runs.
Solution architect
5Design impact
Can it be undone
Reversible: Profiles can be edited or removed. A register without a profile falls back to all payment methods configured at store level. Run 1090 after each change. Microsoft Learn
If you change it later
A register without a profile shows every payment method configured at store level in the system's default order; removing a profile from a register returns it to that behaviour, and changes only reach the POS after job 1090 runs. Microsoft Learn
Technical architect
6Technical
Menu item
RetailPaymentProfileChecked in Dynamics 365
Form
RetailPaymentProfileChecked in Dynamics 365
Table
RetailPaymentProfileShown as “PAYMENT PROFILE” in Record infoKey field: ProfileIdChecked in Dynamics 365
Who can open it
PrivilegesMaintain retail tender types RetailTenderTypesMaintainDutiesMaintain retail store tenders RetailStoreTendersMaintain2 security rolesRetail operations manager RetailOperationsManagerRetail service RetailServiceChecked in Dynamics 365
Roles to set it up and use it
To set it up or change itRetail service RetailServiceRetail operations manager RetailOperationsManagerGive people one of these roles. On this system, 2 roles can open this page.Checked in Dynamics 365