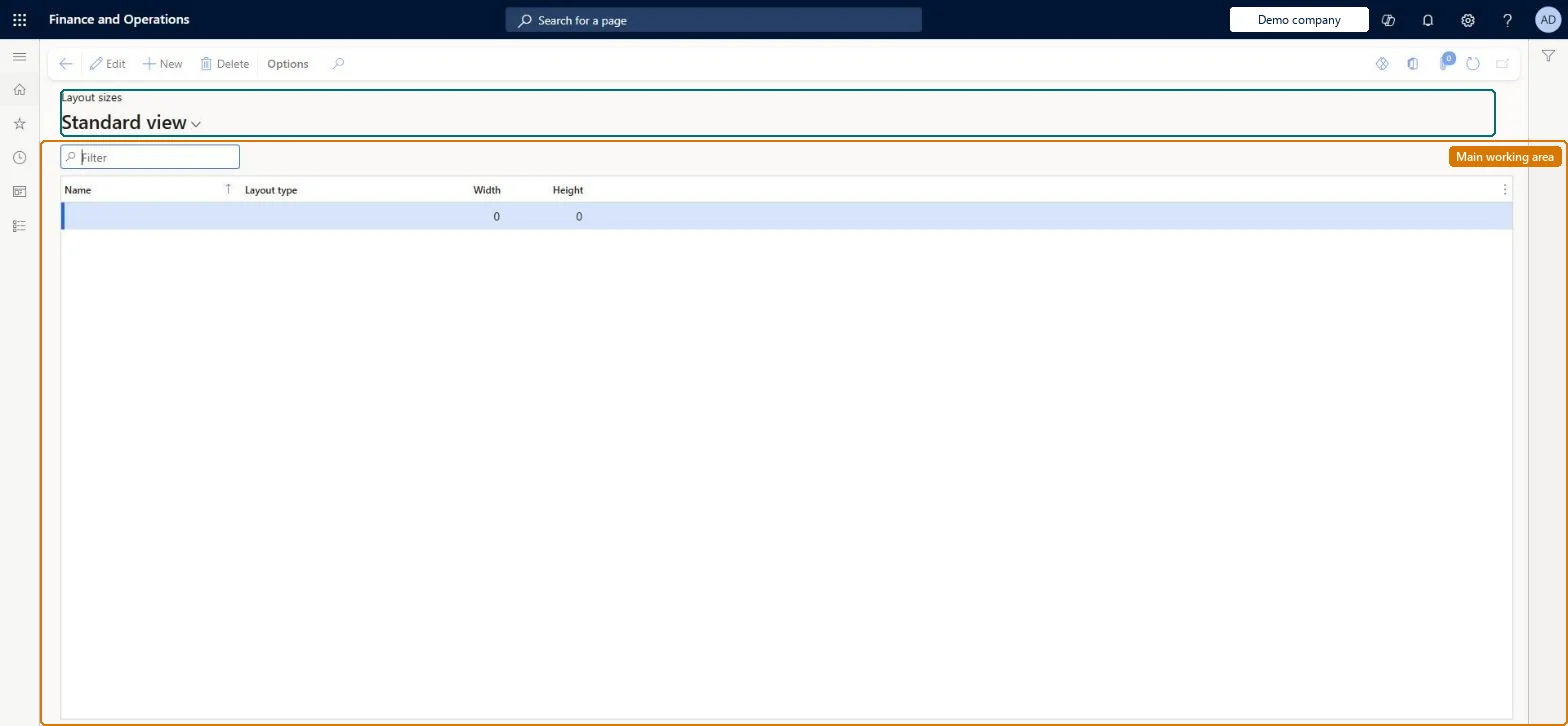
Setup step on the Layout sizes page · Retail and Commerce
Set up Layout sizes
Use this page to define each screen resolution and form factor your devices use, so that a screen layout can hold a Transaction screen configuration for every one of them.
Retail operations manager, Retail service, Information technology manager
Business process
Manage sales channels
Menu item
RetailTillLayoutSize
Main table
RetailTillLayoutSize
Data entity
RetailTillLayoutSizeEntity
Setup steps
1 on this page
Show what matters for
SETUP GUIDEHow to set it up8 sections. Choose a role to highlight what matters to you.
Everyone
1What it is and why
What it is
A setup page listing the named screen sizes (width and height in pixels, Full or Compact layout type) for which POS Transaction screens are configured; at start-up the POS picks the closest configured size.
What you do here
Use this page to define each screen resolution and form factor your devices use, so that a screen layout can hold a Transaction screen configuration for every one of them.
Example
For example, a store with desktop tills and phones defines a Full size such as 1366x768 and a Compact size such as 480x853 within the same screen layout.
The page in Dynamics 365. page title tab to open what to set or check
About the examples: Examples and screenshots in this guide use BEAT, a demo company in a Dynamics 365 test environment. Use your own company's codes and values instead of copying them.
Setup steps on this page
Set up Layout sizes
Use this page to define each screen resolution and form factor your devices use, so that a screen layout can hold a Transaction screen configuration for every one of them.
Steps from Microsoft
Go to Retail and Commerce > Channel setup > POS setup > POS > Layout sizes.
Alternatively, open a layout at Retail and Commerce > Channel setup > POS setup > POS > Screen layouts and on the Layout sizes FastTab select Add.
Enter a meaningful Name for the screen size.
Select the Layout type: Modern POS – Full or Modern POS – Compact.
Enter the Width and Height in pixels.
Configure the Transaction screen for the new size in the layout designer and run the Registers (1090) job.
One size per real device resolution and orientation, using the effective size shown in POS Settings > Session information; Full only for 1024x768 and abovePOS selects the closest configured size at start-up, and any size below 1024x768 generates a compact layout. Operating-system scaling changes the effective size.
Entering the physical screen resolution on a high-DPI device. Scaling makes the effective size smaller, so the wrong layout size is picked.
Solution architect
5Design impact
Can it be undone
Reversible: Sizes can be added at any time; each screen layout then needs a design for the new size.
If you change it later
Full-size layouts need at least 1024x768; any size below that threshold produces a compact layout. Microsoft Learn
Technical architect
6Technical
Menu item
RetailTillLayoutSizeChecked in Dynamics 365
Form
RetailTillLayoutSizeChecked in Dynamics 365
Table
RetailTillLayoutSizeShown as “LAYOUT SIZES” in Record infoKey field: LayoutSizeIdChecked in Dynamics 365
PrivilegesMaintain retail POS till layout RetailPOSTillLayoutMaintianDutiesMaintain retail register reference data RetailTerminalReferenceDataMaintain3 security rolesRetail operations manager RetailOperationsManagerRetail service RetailServiceInformation technology manager SysServerITManagerChecked in Dynamics 365
Roles to set it up and use it
To set it up or change itRetail service RetailServiceRetail operations manager RetailOperationsManagerInformation technology manager SysServerITManagerGive people one of these roles. On this system, 3 roles can open this page.Checked in Dynamics 365
RetailTillLayoutSizeEntity (Layout sizes): shared by all companies, in Microsoft's default template 500 - Retail.Load order: Microsoft's default template 500 - Retail loads Layout sizes at execution unit 1, level 30, sequence 10. Lower levels load first, and entities at the same level load in sequence order.Load first: the default templates at lower levels (System setup to General ledger)Microsoft Learn