About the examples: Examples and screenshots in this guide use BEAT, a demo company in a Dynamics 365 test environment. Use your own company's codes and values instead of copying them.
Step by step, with screenshots
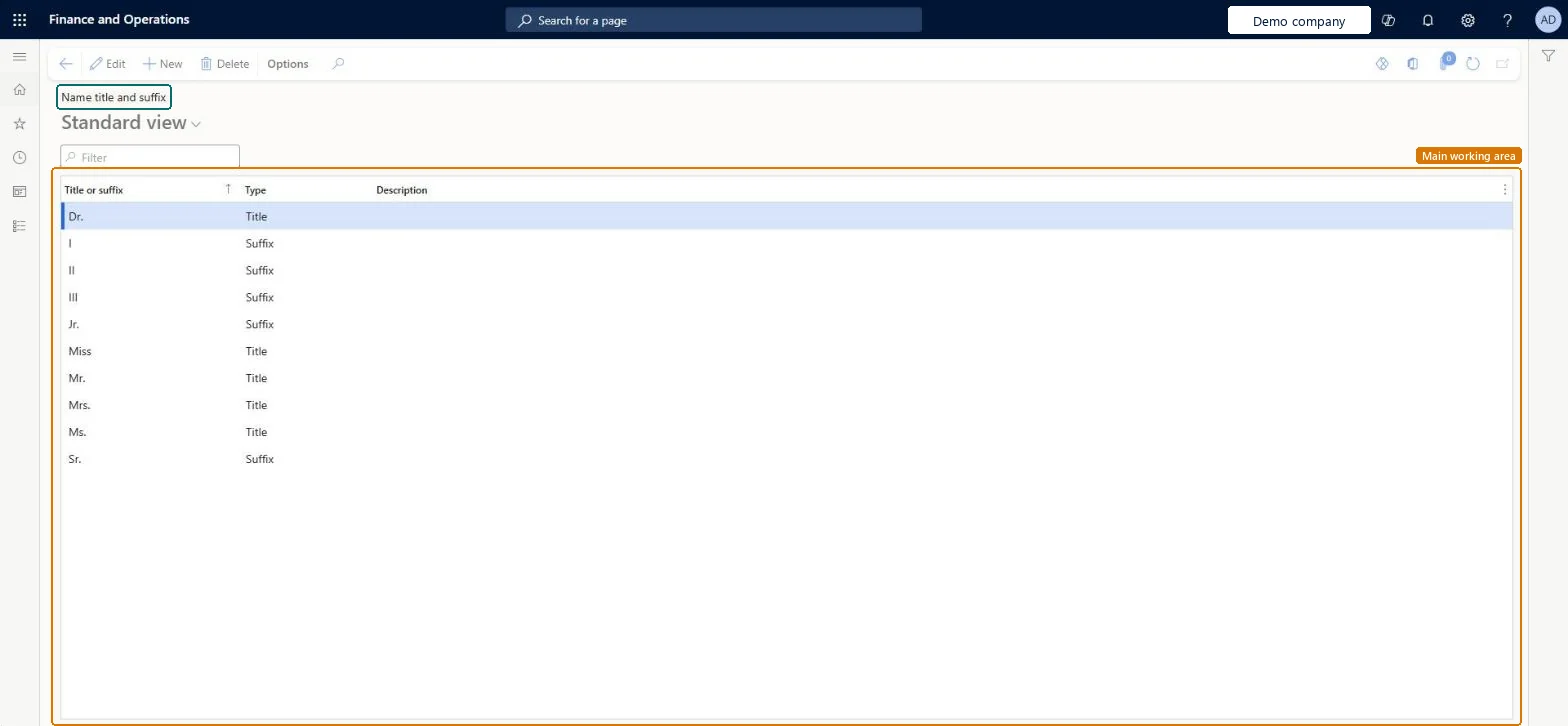
Set up Name title and suffix1 screen
Screen 1
Check the name titles and suffixes
Go to Organization administration > Global address book > Name title and suffix
Review the titles and suffixes in the list
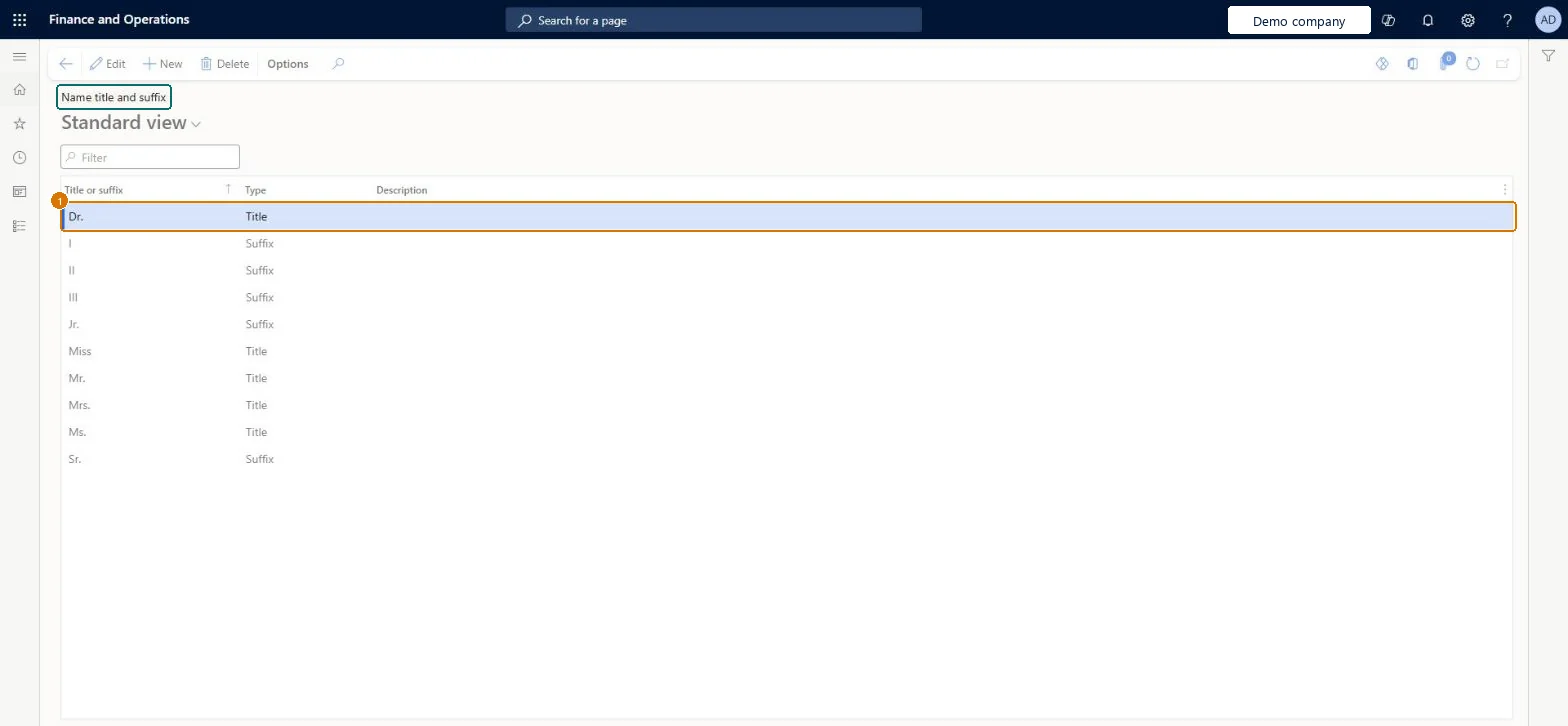
Select New to add one, enter it and its type, and select Save
1Title or suffix
Dr.
Type
Title
Show the full screen page title tab to open what to set or check
How to use it
Go to Organization administration > Global address book > Name title and suffix.
Select New to add a line.
Enter the Title or suffix, choose the Type and add a Description.
Select Edit to change an existing line, or Delete to remove one.
To set it up or change itInformation technology manager SysServerITManagerAccounting manager LedgerAccountingManagerHuman resource manager HcmHumanResourceManagerTo use itAccounts payable manager VendInvoiceAccountsPayableManagerAccounts receivable manager CustInvoiceAccountsReceivableManagerGive people one of these roles. On this system, 5 roles can open this page.Checked in Dynamics 365
DirNameAffixEntity (Name affixes): shared by all companies, in Microsoft's default template 010 - System Setup.Load order: Microsoft's default template 010 - System Setup loads Name affixes at execution unit 1, level 10, sequence 10. Lower levels load first, and entities at the same level load in sequence order.Microsoft Learn
Checked in a working Dynamics 365 system, version 10.0.49: the menu item, form, table and security, the page, the demo records and the values in the screenshots.
To cite this step: OA-GAB-020, Set up Name title and suffix. Beyond ERP Atlas Hub, 2026-11-11. https://www.beyonderp.cloud/atlas/step/OA-GAB-020