Setup step on the Billing classifications page · Accounts receivable
Set up Billing classifications
Groups similar free text invoices so that they share terms of payment, interest settings, number sequences, collection letter sequences and the set of billing codes allowed on them.
Accounts receivable clerk, Accounts receivable manager, Auditor and 7 more roles
Business process
Generate invoices for government services in Dynamics 365 Finance
Menu item
CustBillingClassification
Data entity
CustBillingClassificationEntity
Setup steps
1 on this page
Show what matters for
SETUP GUIDEHow to set it up8 sections. Choose a role to highlight what matters to you.
Everyone
1What it is and why
What it is
A public sector setup page for billing classifications, which group similar free text invoices for processing and viewing.
What you do here
Use it to define, per classification, the terms of payment, interest, invoice and credit note number sequences, collection letter sequence and the billing codes allowed on invoices that use it.
Example
A transit agency that leases station space to coffee shops creates a Leases billing classification so all leases share payment terms and collection letters and can be viewed together.
The page in Dynamics 365. page title tab to open what to set or check
About the examples: Examples and screenshots in this guide use BEAT, a demo company in a Dynamics 365 test environment. Use your own company's codes and values instead of copying them.
Step by step, with screenshots
Set up Billing classifications1 screen
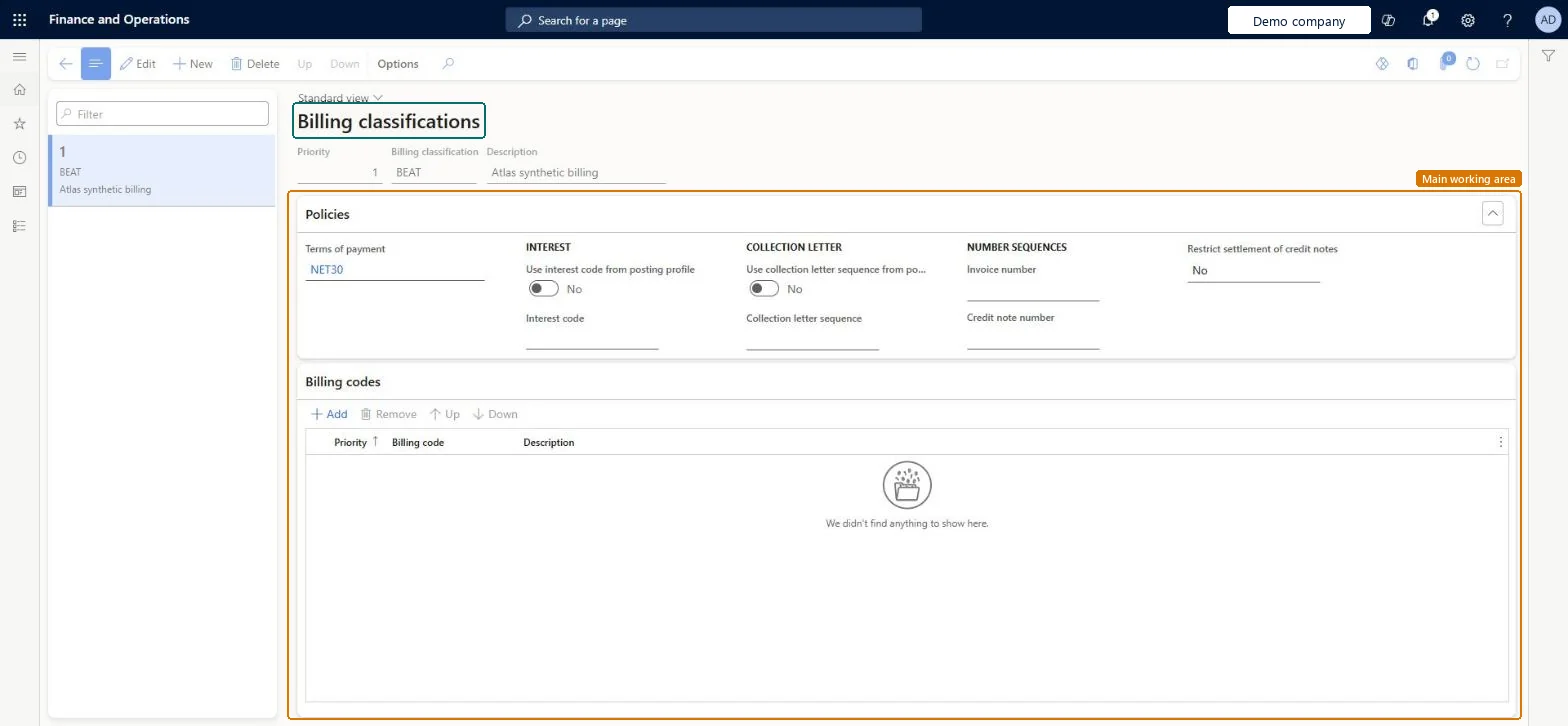
Groups similar free text invoices so that they share terms of payment, interest settings, number sequences, collection letter sequences and the set of billing codes allowed on them.
Screen 1
Create the billing classification
Go to Accounts receivable > Setup > Billing classifications
Select New and enter the priority, billing classification and description
On the Policies FastTab, set the terms of payment
Leave Restrict settlement of credit notes set to No
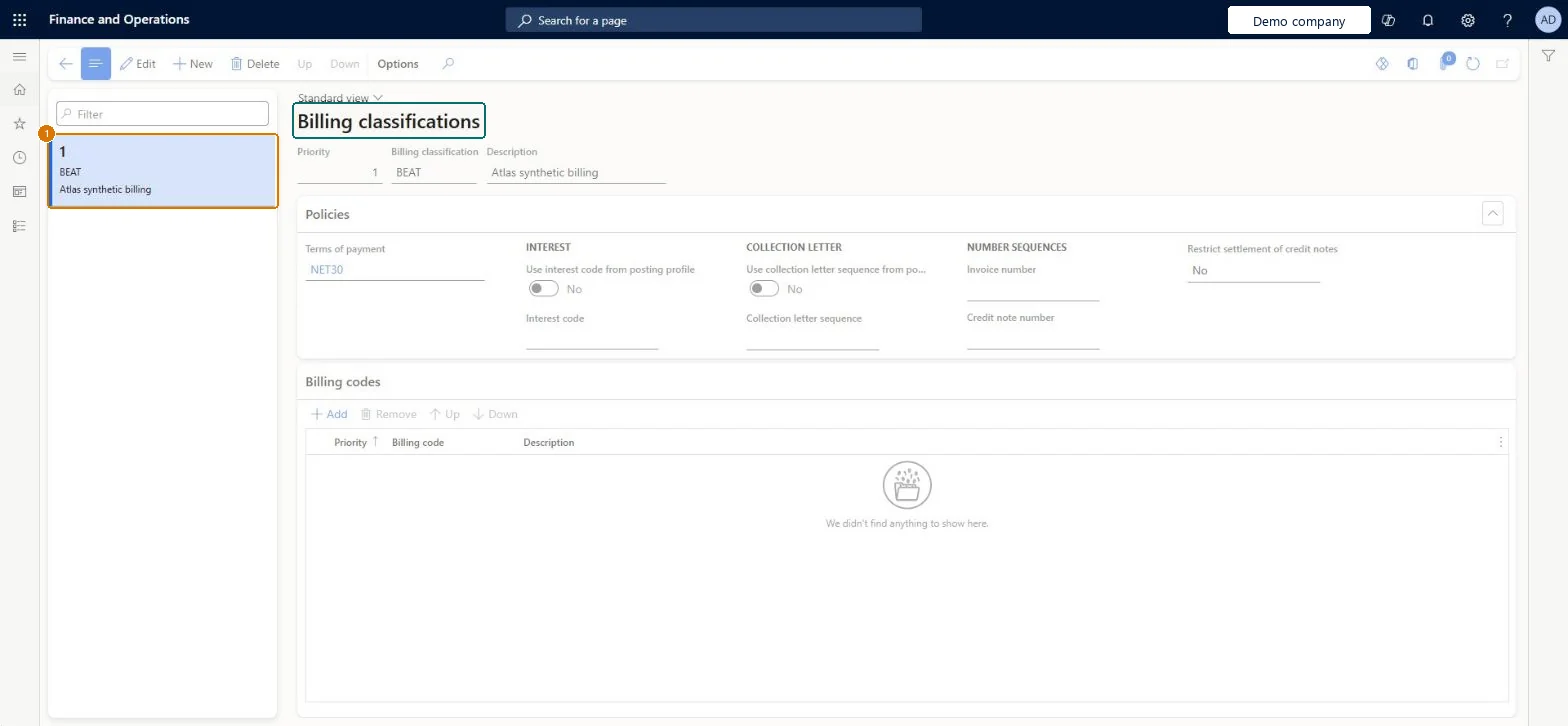
1Billing classification
BEAT
Priority
1
Description
Billing
Terms of payment
NET30
Restrict settlement of credit notes
No
Show the full screen page title tab to open what to set or check
Steps from Microsoft
Go to Accounts receivable > Setup > Billing classifications.
Select New.
In the Billing classification field, enter a code, and enter a Description.
In the Terms of payment field, select the terms for this classification.
Review the interest and collection letter settings.
Expand the Billing codes section and select Add.
In the Billing code field, select a billing code to add.
Use billing classifications. Create all classifications and billing codes first, then select Use billing classifications in Accounts receivable parameters.Learn strongly recommends billing classifications because many public sector Accounts receivable capabilities are only available with them. The setup pages are available before the parameter is turned on, so everything can be ready first.
Hard to reverse: After billing classifications are enabled, every free text invoice must have one. A billing code can belong to only one classification, so moving codes between classifications means rebuilding them.
If you change it later
Once billing classifications are turned on in Accounts receivable parameters, every free text invoice must have one. Microsoft Learn
Technical architect
6Technical
Menu item
CustBillingClassificationChecked in Dynamics 365
Form
CustBillingClassificationChecked in Dynamics 365
Data entities
CustBillingClassificationEntityBilling Classification Checked in Dynamics 365
Who can open it
PrivilegesMaintain billing classifications CustBillingClassificationMaintainView billing classifications in setup CustBillingClassificationViewDutiesInquire into invoice and cash policies CustInvoiceInvoiceAndCashPoliciesInquirEnable invoice and cash process CustInvoiceInvoiceAndCashProcessEnableInquire into invoice and cash policies RentalCustInvInvoiceAndCashPolInquirEnable invoice and cash process RentalCustInvoiceInvAndCashProcEnable10 security rolesAuditor AuditPolicyManagerCollections manager CollectionLetterCollectionsManagerAccounts receivable clerk CustInvoiceAccountsReceivableClerkAccounts receivable manager CustInvoiceAccountsReceivableManagerAccounting manager LedgerAccountingManagerAccounting supervisor LedgerAccountingSupervisorAccounts receivable centralized payments clerk PaymAccountsReceivableCentralPaymClerkAccounts receivable payments clerk PaymAccountsReceivablePaymentsClerkRental coordinator agent RentalCoordinatorAgentRental manager RentalManagerChecked in Dynamics 365
Roles to set it up and use it
To set it up or change itRental manager RentalManagerAccounts receivable manager CustInvoiceAccountsReceivableManagerRental coordinator agent RentalCoordinatorAgentCollections manager CollectionLetterCollectionsManagerAccounting supervisor LedgerAccountingSupervisorTo use itAccounts receivable clerk CustInvoiceAccountsReceivableClerkAccounts receivable payments clerk PaymAccountsReceivablePaymentsClerkAccounts receivable centralized payments clerk PaymAccountsReceivableCentralPaymClerkAuditor AuditPolicyManagerGive people one of these roles. On this system, 10 roles can open this page.Checked in Dynamics 365
Checked in a working Dynamics 365 system, version 10.0.49: the menu item, form, table and security, the page, the demo records and the values in the screenshots.
To cite this step: AR-SETUP-040, Set up Billing classifications. Beyond ERP Atlas Hub, 2026-11-11. https://www.beyonderp.cloud/atlas/step/AR-SETUP-040