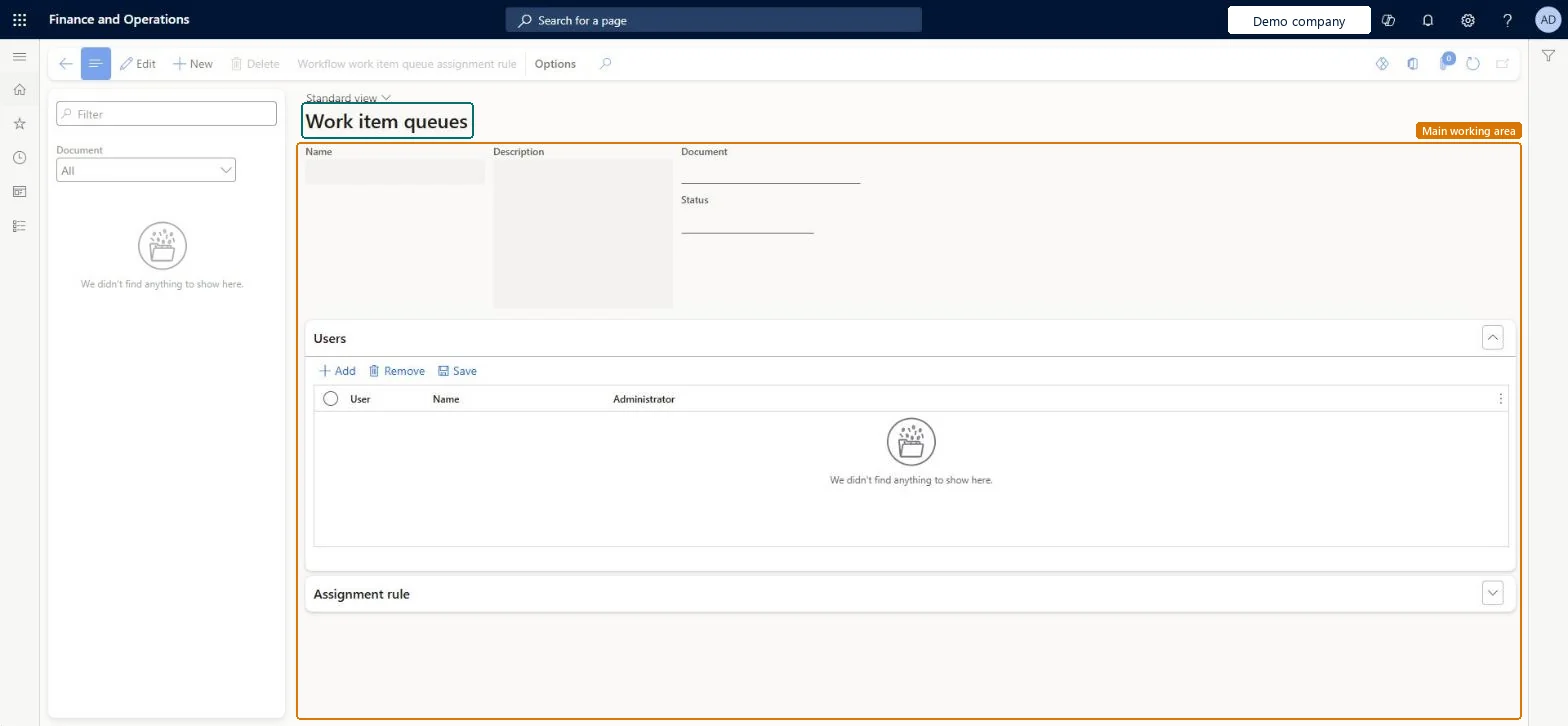
About the examples: Examples and screenshots in this guide use BEAT, a demo company in a Dynamics 365 test environment. Use your own company's codes and values instead of copying them.
Steps from Microsoft
Go to Organization administration > Workflow > Work item queues.
Select New.
In the Name field, enter a name, and in the Description field, enter a description.
In the Document field, select the type of document that the queue will process.
In the Status field, select Active.
On the Users tab, select Add and select each user who works the queue.
Select the Administrator check box for at least one user.
Setting a queue to On hold stops new documents from arriving, so the team can clear what's already there before the queue is made Inactive. Microsoft Learn
Technical architect
5Technical
Menu item
WorkflowWorkItemQueueSetupChecked in Dynamics 365
Form
WorkflowWorkItemQueueSetupChecked in Dynamics 365
Table
WorkflowWorkItemQueueShown as “Workflow work item queue” in Record infoKey field: Name, WorkitemType, WorkitemTypeFriendlyNameChecked in Dynamics 365
To set it up or change itInformation technology manager SysServerITManagerGive people one of these roles. On this system, 1 role can open this page.Checked in Dynamics 365
Actions on the page
Options: Personalize, Page options, ShareChecked in Dynamics 365
WorkflowWorkItemQueueEntity (Workflow work item queue): shared by all companies, in Microsoft's default template 022 - Workflow.Load order: Microsoft's default template 022 - Workflow loads Workflow work item queue at execution unit 1, level 22, sequence 60. Lower levels load first, and entities at the same level load in sequence order.Load first: the default templates at lower levels (System setup to General ledger shared)Microsoft Learn