About the examples: Examples and screenshots in this guide use BEAT, a demo company in a Dynamics 365 test environment. Use your own company's codes and values instead of copying them.
Step by step, with screenshots
Set up Vendor catalog import parameters1 screen
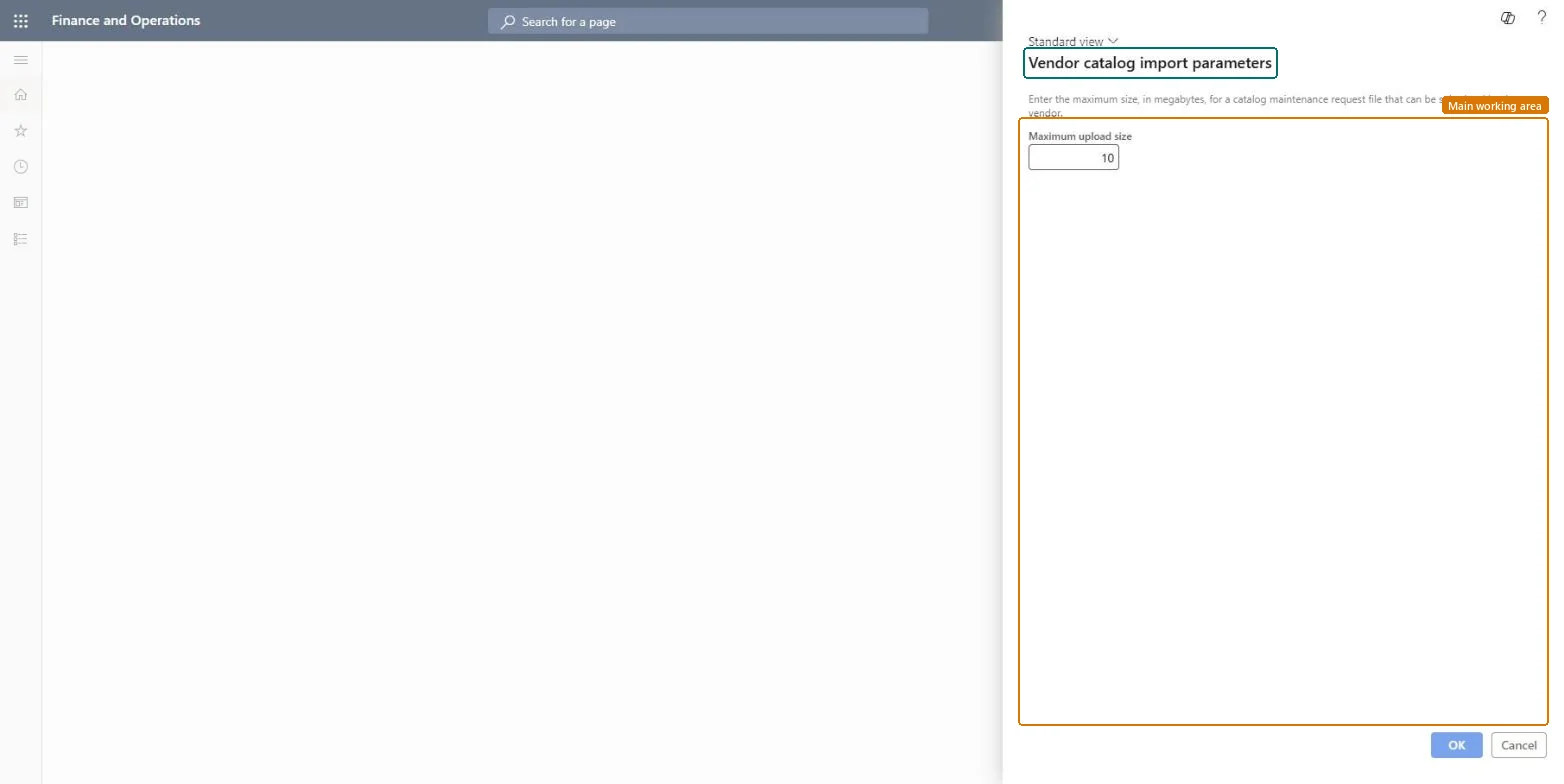
Use this page to control where CMR files are stored, how large they can be and how many are processed at once.
Screen 1
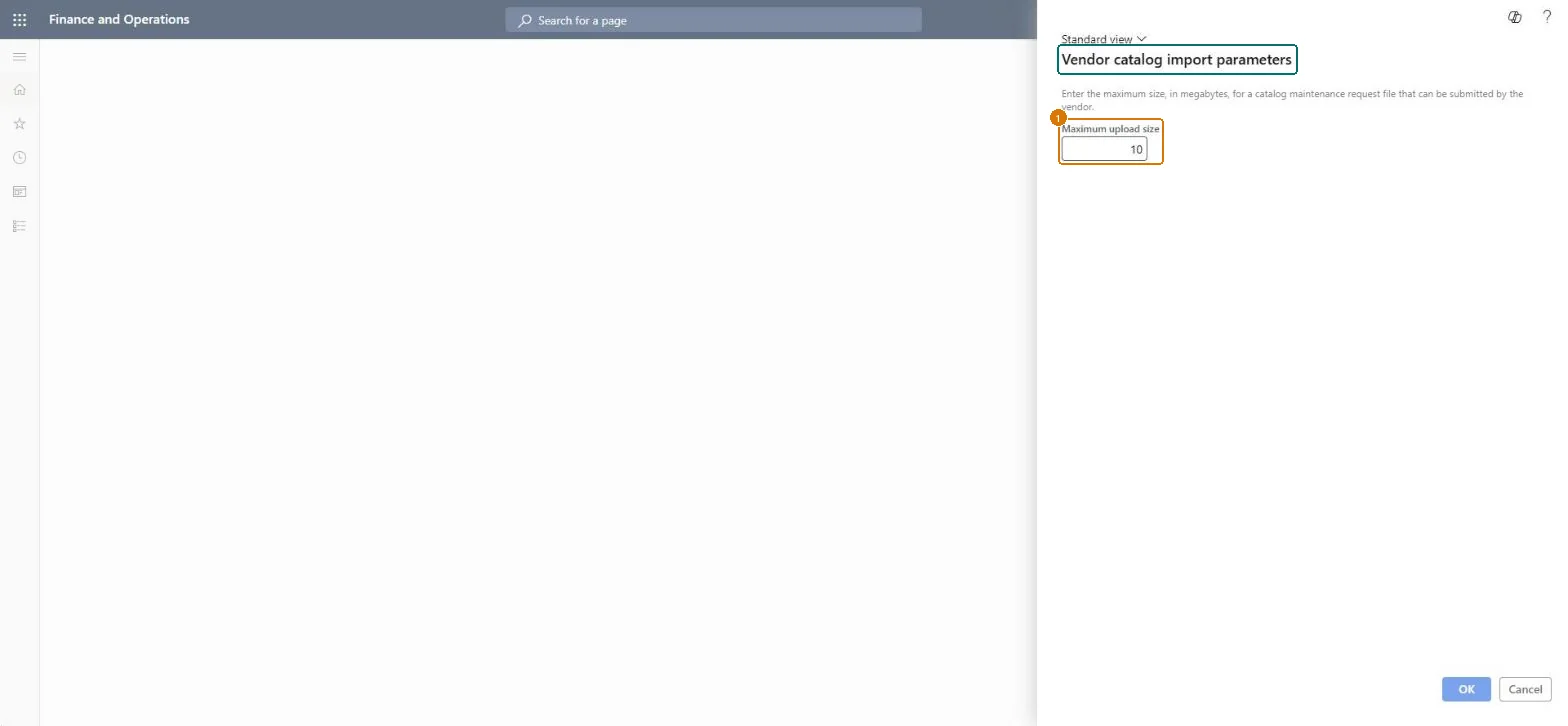
Set the largest catalog file a vendor can upload
Go to Procurement and sourcing > Setup > Vendors > Vendor catalog import parameters
Enter the maximum upload size in megabytes
Select OK
1Maximum upload size
10
Show the full screen page title tab to open what to set or check
Steps from Microsoft
Go to Procurement and sourcing > Setup > Vendors > Vendor catalog import parameters.
In the Root folder path field, enter the folder where CMR files are stored.
In the Maximum upload size field, enter the largest file size allowed, in megabytes.
In the Maximum files in process field, enter how many CMR files can be processed at the same time.
Files larger than the maximum upload size aren't processed, and an error is logged. Microsoft Learn
Technical architect
5Technical
Menu item
CatVendorCatalogImportParameterChecked in Dynamics 365
Form
CatVendorCatalogImportParameterChecked in Dynamics 365
Roles to set it up and use it
To set it up or change itPurchasing agent VendPurchasingAgentPurchasing Agent - Public Sector VendPurchasingAgent_PSNGive people one of these roles. On this system, 2 roles can open this page.Checked in Dynamics 365
Checked in a working Dynamics 365 system, version 10.0.49: the menu item, form, table and security, the page, the demo records and the values in the screenshots.