About the examples: Examples and screenshots in this guide use BEAT, a demo company in a Dynamics 365 test environment. Use your own company's codes and values instead of copying them.
Step by step, with screenshots
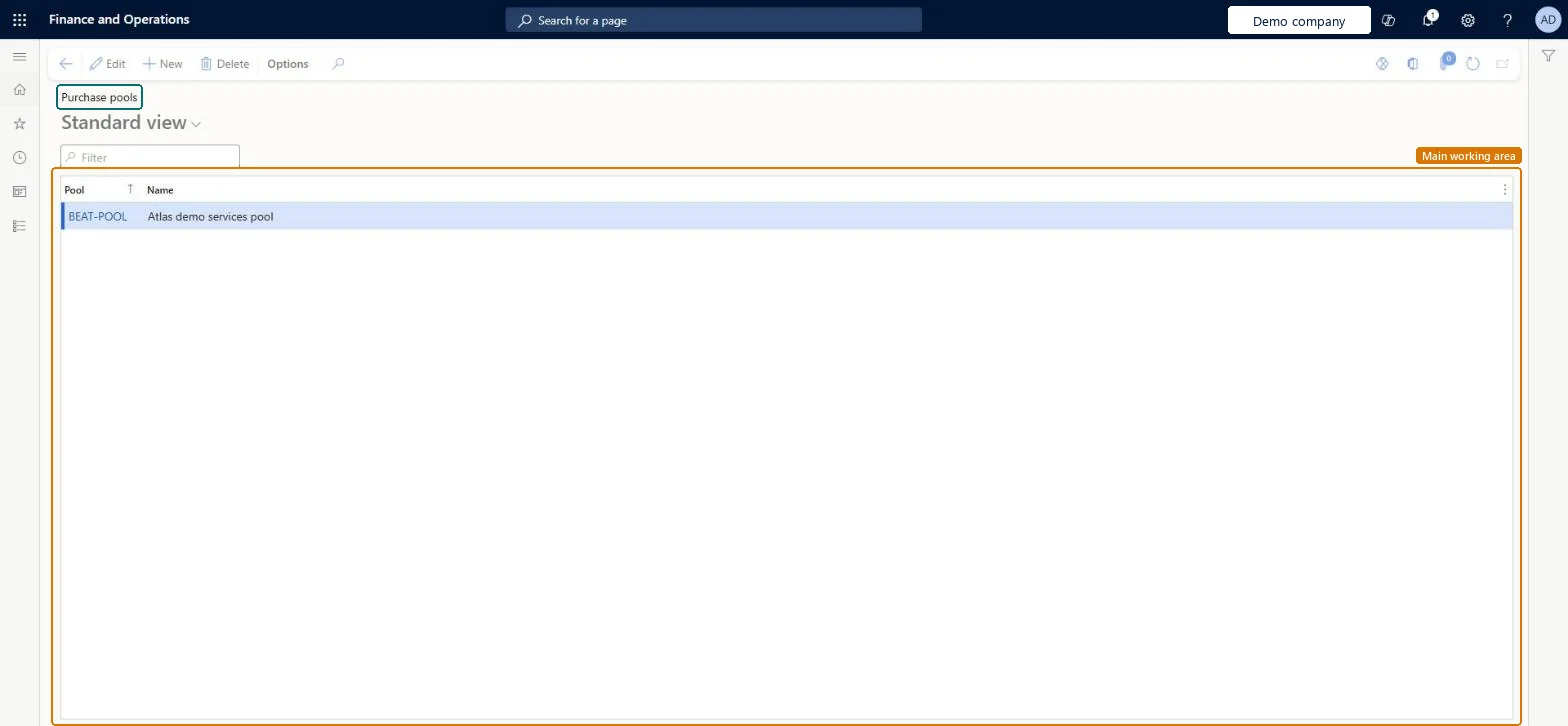
Set up Purchase pools1 screen
Screen 1
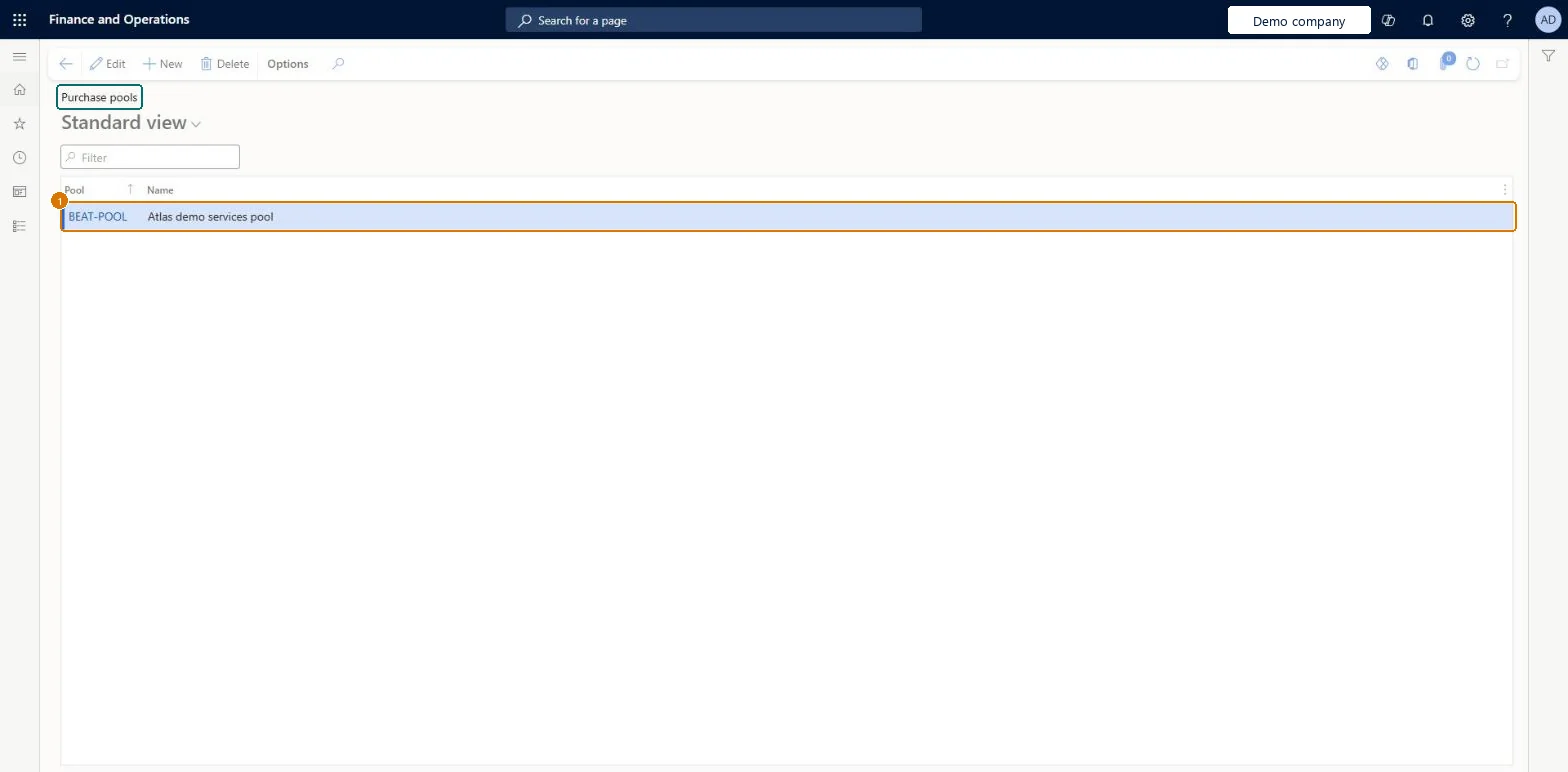
Create the purchase pool
Go to Procurement and sourcing > Setup > Purchase orders > Purchase pools
Select New
Enter the pool and its name
Select Save
1Pool
BEAT-POOL
Show the full screen page title tab to open what to set or check
How to use it
Go to Procurement and sourcing > Setup > Purchase orders > Purchase pools.
Select New to add a pool.
Fill in the Pool and Name columns.
Select a row and select Edit to change it, or Delete to remove it.
PrivilegesMaintain purchase pools PurchPoolMaintainView purchase pools PurchPoolViewDutiesEnable purchase order to invoice process PurchOrderToInvoiceProcessEnableInquire into purchase order to invoice reference data PurchOrderToInvoiceReferenceDataInquire2 security rolesPurchasing manager TradePurchasingManagerAccounts payable manager VendInvoiceAccountsPayableManagerChecked in Dynamics 365
Roles to set it up and use it
To set it up or change itPurchasing manager TradePurchasingManagerAccounts payable manager VendInvoiceAccountsPayableManagerGive people one of these roles. On this system, 2 roles can open this page.Checked in Dynamics 365
Actions on the page
Options: Personalize, Page options, ShareChecked in Dynamics 365
PurchPurchaseOrderPoolEntity (Purchase pools): loaded for each company, in Microsoft's default template 120 - Accounts payable.Load order: Microsoft's default template 120 - Accounts payable loads Purchase pools at execution unit 1, level 30, sequence 10. Lower levels load first, and entities at the same level load in sequence order.Load first: the default templates at lower levels (System setup to General ledger)Microsoft Learn
Checked in a working Dynamics 365 system, version 10.0.49: the menu item, form, table and security, the page, the demo records and the values in the screenshots.