PAGE GUIDEWhat the page does and how to use it7 sections. Choose a role to highlight what matters to you.
Everyone
1What it is and why
What it is
A setup page where you design a custom, editable Excel workbook from a data entity and a chosen set of its fields.
What you do here
Use this page to build Excel workbooks that users can open, edit and publish data back from, and to create blank documents for building Word templates.
Example
For example, you can select Create blank document here to start a new Word template that is later uploaded as an Export to Word experience.
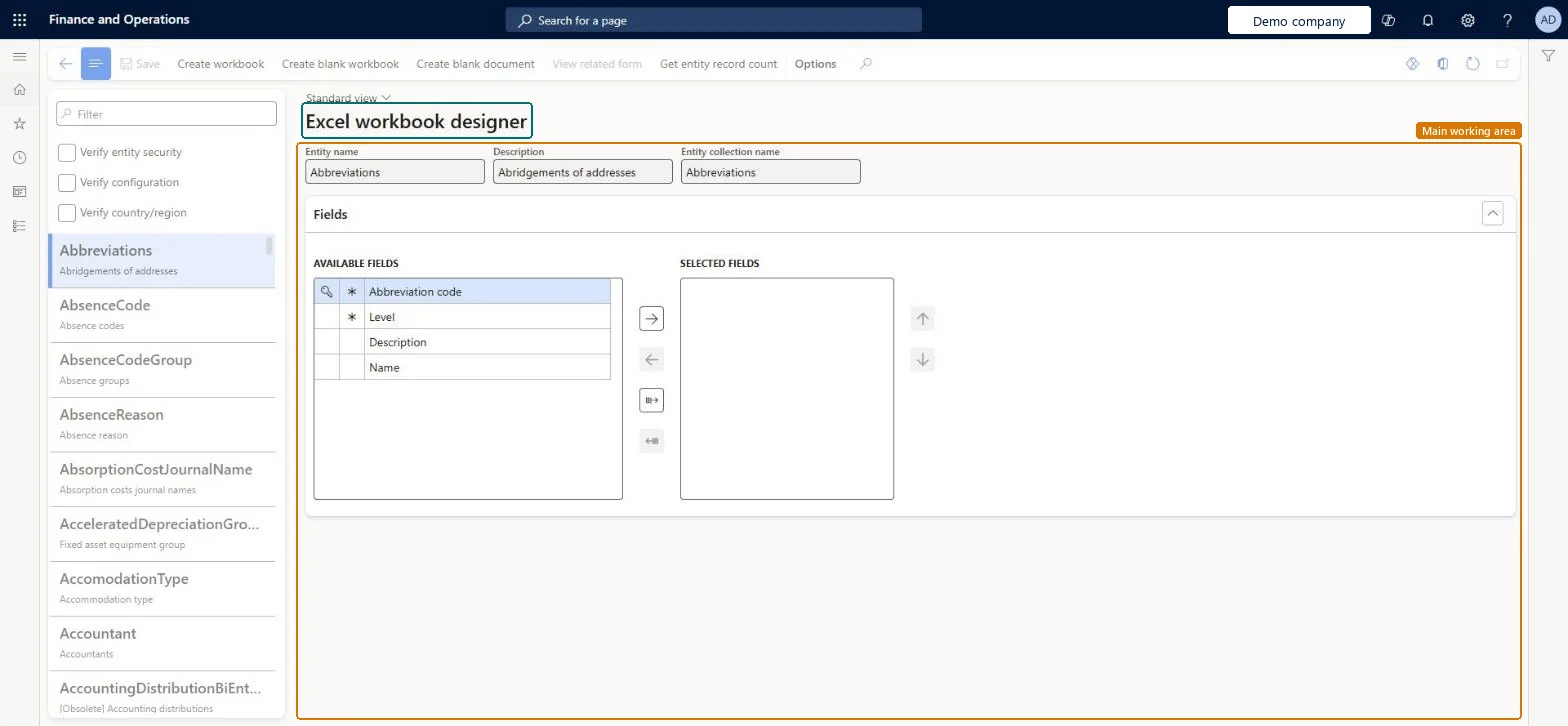
The page in Dynamics 365. page title tab to open what to set or check
About the examples: Examples and screenshots in this guide use BEAT, a demo company in a Dynamics 365 test environment. Use your own company's codes and values instead of copying them.
Steps from Microsoft
Go to Organization administration > Setup > Office integration > Excel workbook designer.
Select the entity and the fields to include in the Excel table.
Make sure all key fields, marked with a key symbol, are included so that edits can be published.
Include all mandatory fields, marked with an asterisk, so records can be created or updated.
Reversible: The designer only generates a workbook (or a blank document for Word templates). No data changes until someone publishes from the workbook, and you can create a new workbook with different fields at any time. Microsoft Learn
If you change it later
Edits can be published back only when all the entity's key fields are in the Excel table, and new or updated records need all mandatory fields. Microsoft Learn
Technical architect
5Technical
Menu item
ExportToExcelWorkbookDesignerChecked in Dynamics 365
Form
ExportToExcelWorkbookDesignerChecked in Dynamics 365
Table
ExportToExcelEntityListTmpShown as “Data entities” in Record infoChecked in Dynamics 365
Who can open it
PrivilegesOpen in Microsoft Office ExportToExcel4 security rolesAifTestSecRoleEventTestRoleSystem user SystemUserTestEssentialsRoleChecked in Dynamics 365
Roles to set it up and use it
To set it up or change itSystem user SystemUserTestEssentialsRole Give people one of these roles. On this system, 2 roles can open this page.Checked in Dynamics 365
Actions on the page
Options: Personalize, Page options, Edit, ShareChecked in Dynamics 365